Quick Content Links
Installing Via M365 Admin Centre
Pre-Requisites for using the Add-in
Installing Via M365 Add In Centre
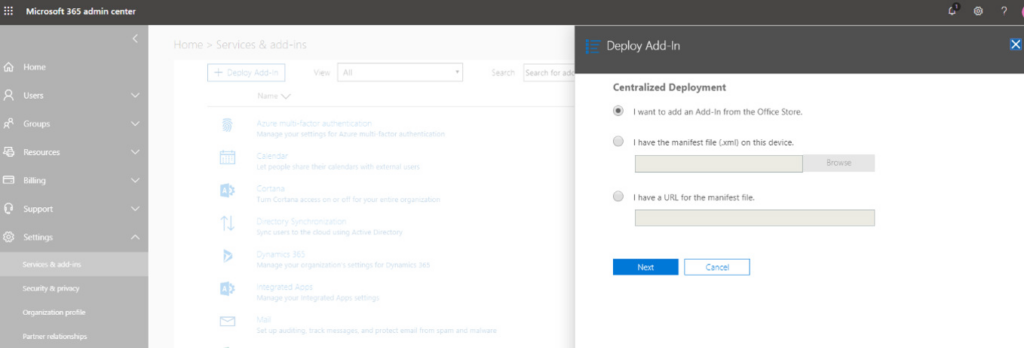
Admin users can install the add-in, instructions on how to do this can be found here:
Deploy and publish Office Add-ins – Office Add-ins | Microsoft Learn
PLEASE NOTE: You must be a Tenant Admin user to deploy using this method.
Enter the URL for the add-in’s manifest as shown below, ensuring that the URL
begins ‘htps://’.
Manifest URL: htps://m365.cloudbooking.com/addin/manifest.xml

Once added, the add-in will appear as an Outlook option when booking meetings

Pre-Requisites for using the Add In
CBSync Add-in has certain prerequisites (Exchange version, and Outlook client version).
The requirements for Outlook Add-Ins are expressed in terms of “requirement sets”
depending on which features the add-in uses.
The CBSync add-in needs requirement set 1.8.
CBSync Add-in is not supported in a thin client/virtual environment.
Microsoft publish the client version and Exchange requirements, by requirement set, and
this information can be found here:
htps://docs.microsot.com/en-us/office/dev/add-ins/reference/
requirement-sets/outlook-api-requirement-sets#requirement-sets-supported-by-ex
change-servers-and-outlook-clients