CBSync enables a user to book a room in the Cloudbooking Portal that will
automatically sync with their calendar, and vice versa, to provide greater
flexibility when making and editing room bookings.
Quick Content Links
Making a room booking
Room booking floorplan view and PIN colours explained
Room booking grid view
Making a booking on behalf of another user
Making a repeat booking
Editing a booking
Deleting a booking
Editing a repeat booking
Deleting a repeat booking
Making a room booking
Please log in to your Cloudbooking account via your portal URL.
(If you require assistance please email Help@cloudbooking.com)
Select the site you wish to book a room in from the top of the screen.
Then click ‘Rooms’ in the menu on the left.
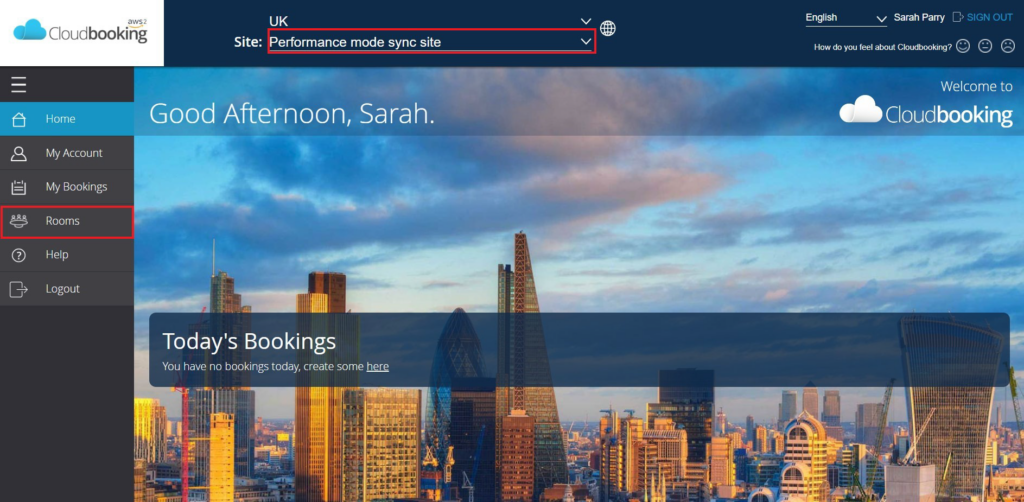
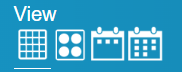
You will now be on either the Floorplan or the Room Booking Grid. You can change between Grid, Floorplan, Weekly or Monthly calendar by selecting one of the ‘View’ icons.
Room booking floorplan view and PIN colours explained
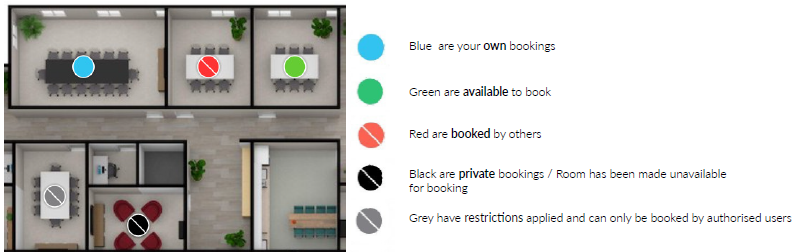
Select the date required by changing the date on the top ribbon, you can also select the area you want in the drop down and filter the time you need.
Selecting a green pin will open the ‘Book a Room’ form and allow you to enter the details of the meeting.
Room booking grid view

Select the date required, you can also select a preferred floor/capacity to refine the table.
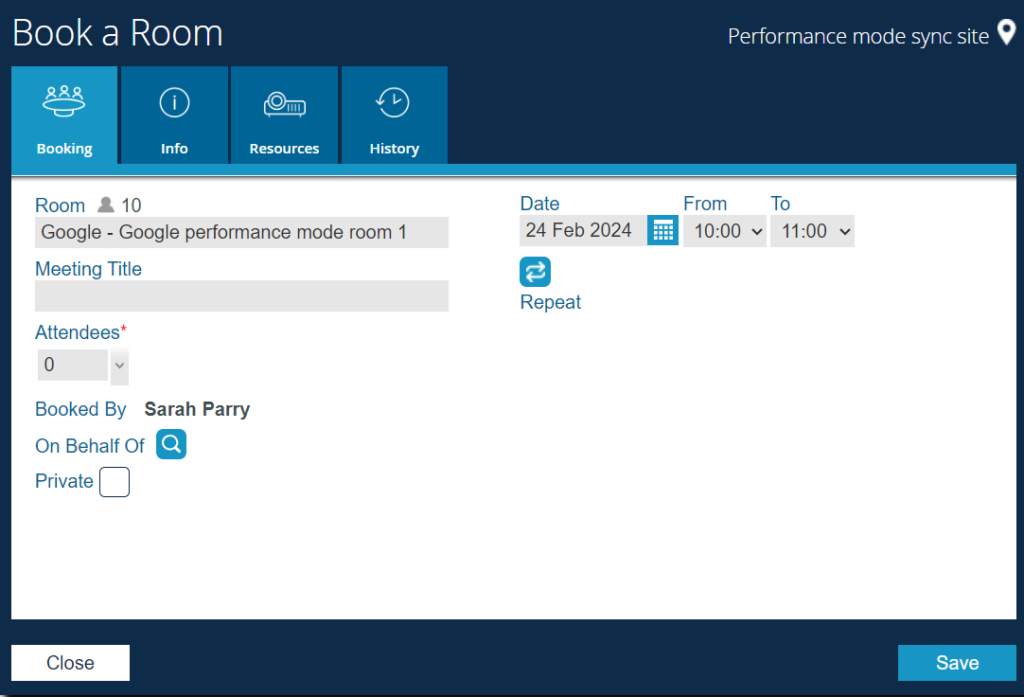
To book an available time slot click the slot at the start of your meeting and drag to the end time you want. The ‘Book a Room’ form will then be displayed and you can book as follows.
Complete the new ‘Book a Room’ information form, as illustrated below, by completing all fields.
If you wish to make a booking on behalf of a colleague or make a repeat booking then
please see the instructions below.
When you have completed the requirements for your booking, click ‘Save’ to complete.
You will receive an email notification of your booking and an email acceptance from the
mailbox of your selected room.
Your booking will appear in your Exchange calendar and the calendar for your selected
room.
Making a booking on behalf of another user
To make a booking on behalf of another user. Click the ‘On behalf of’ icon.
The Colleague search window will open. Enter the colleague’s name into the search bar.
their name will appear listed, tick the box next to their name and click ‘Save’
The booking will be displayed as follows:

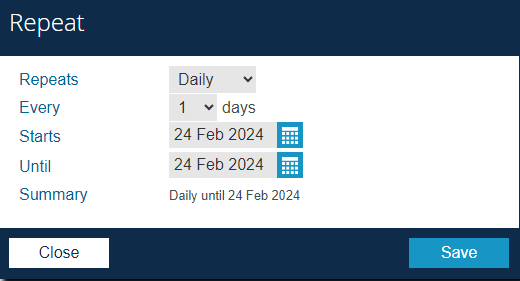
Making a repeat booking
If you have a re-occurring meeting room requirement then place your meeting as a repeat booking.
In the ‘Book a room’ form, select the ‘Repeat’ icon.

Make your repeat booking selection (Daily/Weekly/Monthly or as required) and click
‘Save’ to continue.
Repeat bookings will be displayed in the grid with this symbol.

You will receive an email notification of your booking and an email acceptance from the
mailbox of your selected room.
Your booking(s) will appear in your calendar and the calendar for your selected room.
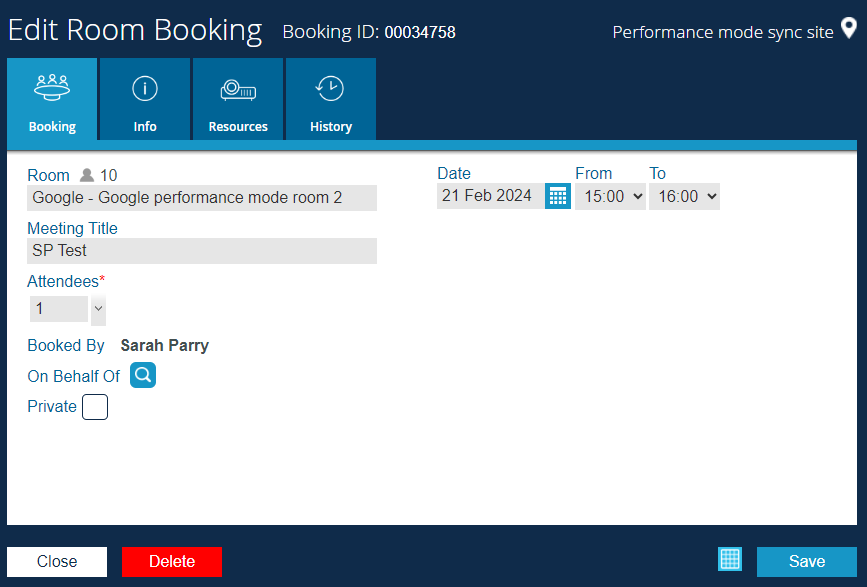
Editing a booking
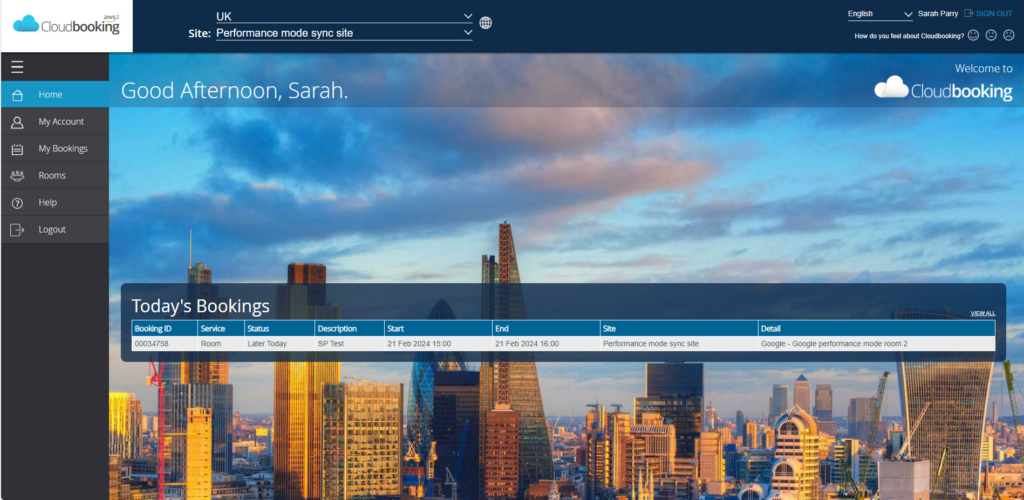
From your home screen, select the booking you wish to edit either from the list, or the
‘My Bookings’ menu.

The ‘Edit Room Booking’ window will open. Make your changes as required and click
‘Save’ to update your booking.
You will receive a notification of updates to your booking.
Your booking will be updated in your calendar and the calendar for the room.
PLEASE NOTE – If you wish to book a different room, please delete your booking and
create a new one.
Deleting a booking
From your home screen, select the booking you wish to delete. Either from the list, or
the ‘My Bookings’ menu

The ‘Edit Room Booking’ window will open. Click ‘Delete’ to cancel your booking.

You will receive a notification that your booking has been cancelled.
Your booking will be removed from your calendar and the calendar for the
room.
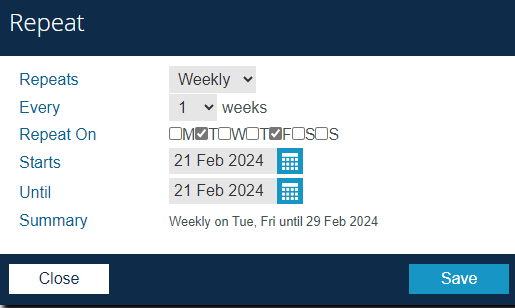
Editing a repeat booking
From your home screen, select the repeat booking you wish to edit either from the list, or the ‘My Bookings’ menu.
The ‘Edit Room Booking’ window will open. Click on the ‘Repeat’ icon to amend your
booking.
The following message will appear:

Click ‘Continue’ to proceed with amending your booking or ‘Close’ to cancel the edit.
Make your required changes and click ‘Save’
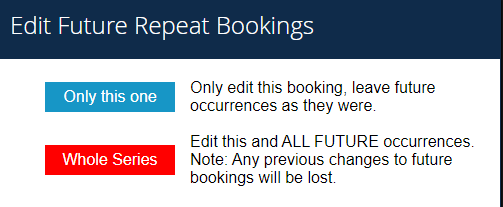
The following message will appear, make your selection:
You will receive a notification that your booking has been updated.
The booking will be updated in the Cloudbooking portal, in your Calendar and the calendar for the room.
Deleting a repeat booking
From your home screen, select the repeat booking you wish to delete either from the list, or the ‘My Bookings’ menu.

The ‘Edit Room Booking’ window will open. Click ‘Delete’
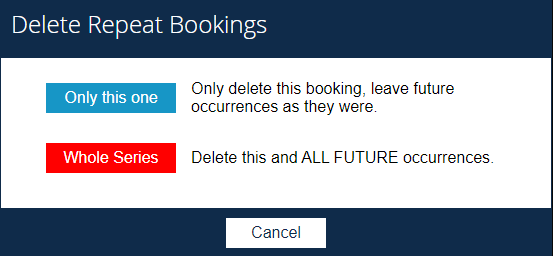
The following message will appear:
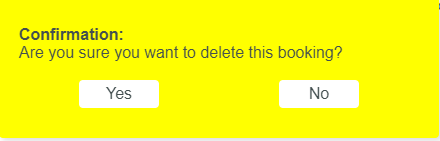
Click ‘Yes’ to proceed with deletion or ‘No’ to cancel deletion.
Make your selection to proceed with deletion or ‘Cancel’ to go back.
You will receive a notification that your booking has been deleted.
If you have selected to delete an occurrence of the booking, all future occurrences will
remain unchanged.
If you have chosen to delete ‘Whole Series’ the booking will be removed from the
Cloudbooking portal, your Calendar and the calendar for the room.