Quick Content Links
Making and amending a booking
Get to know the Cloudbooking icons
Using Filters
Adding Hospitality (If Applicable)
Editing a booking
Editing Hospitality
Cancelling a booking
Multi Room (If Applicable)
Editing and cancelling multi room booking
Making and amending a booking
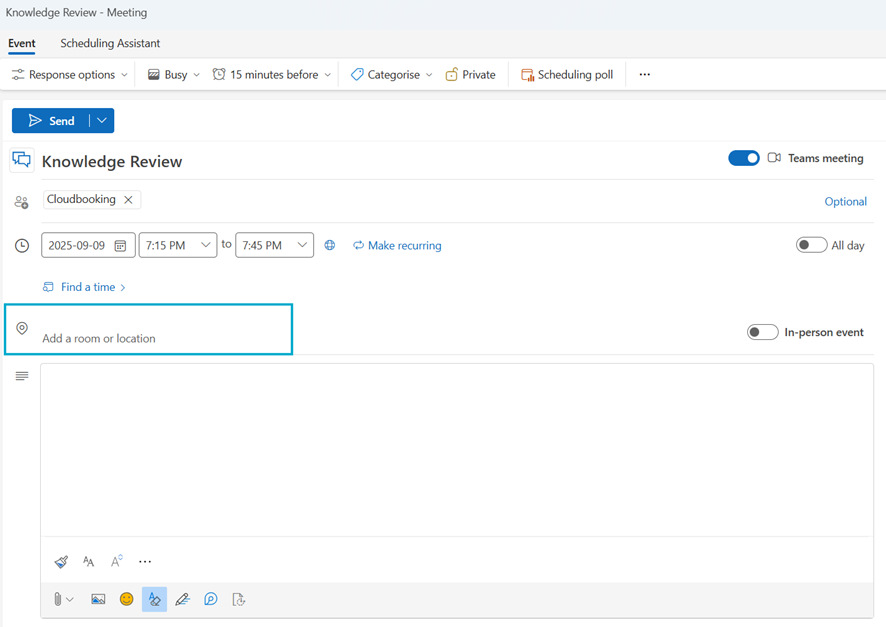
PLEASE NOTE: Attendees on meetings are managed in Outlook. You will need to ensure all your attendees are added in the outlook invite before sending
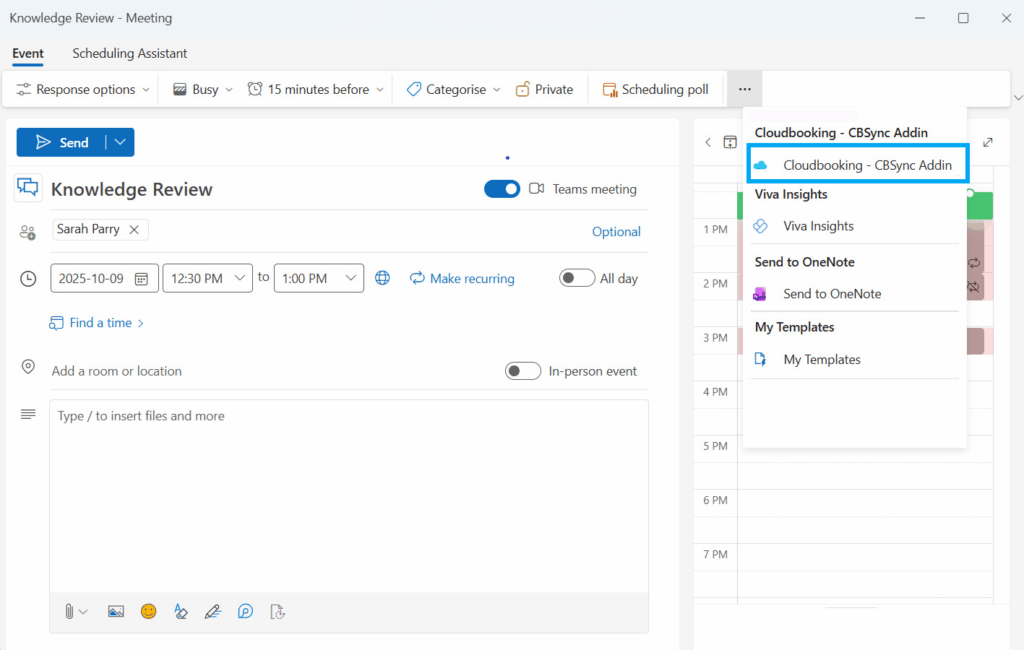
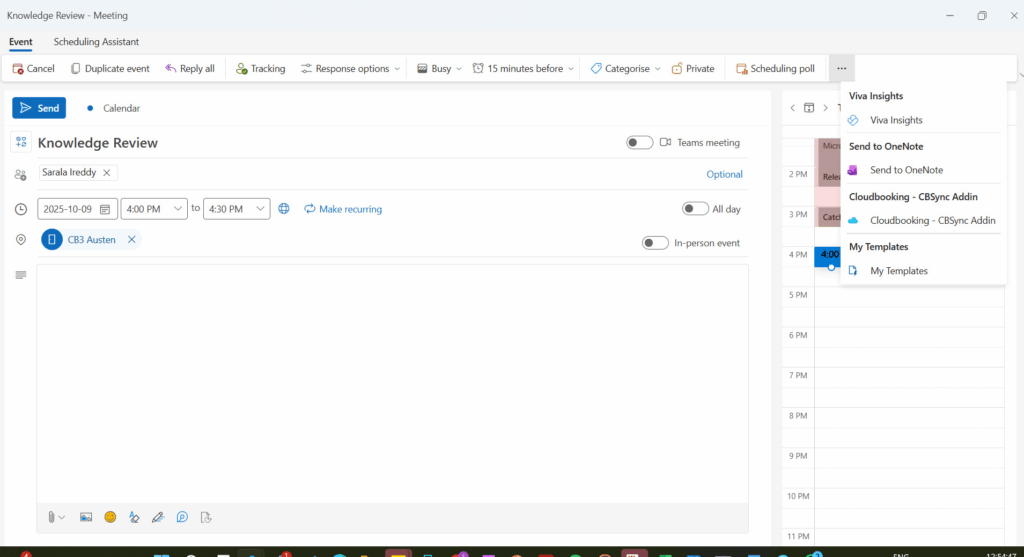
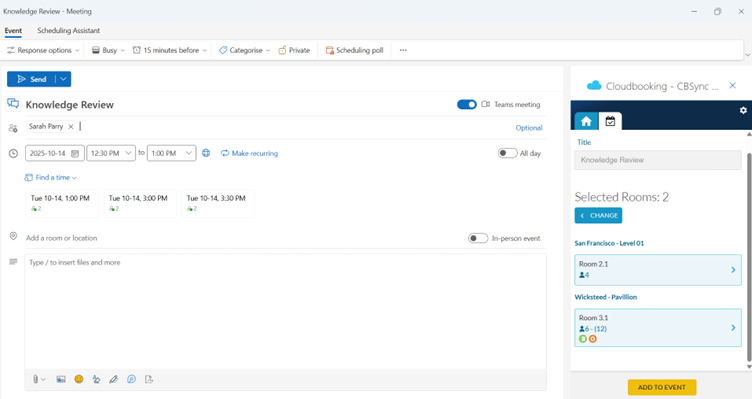
Add the title of your meeting, all attendees and set the date and time. Then launch the Cloudbooking Add-In icon to find a suitable room.
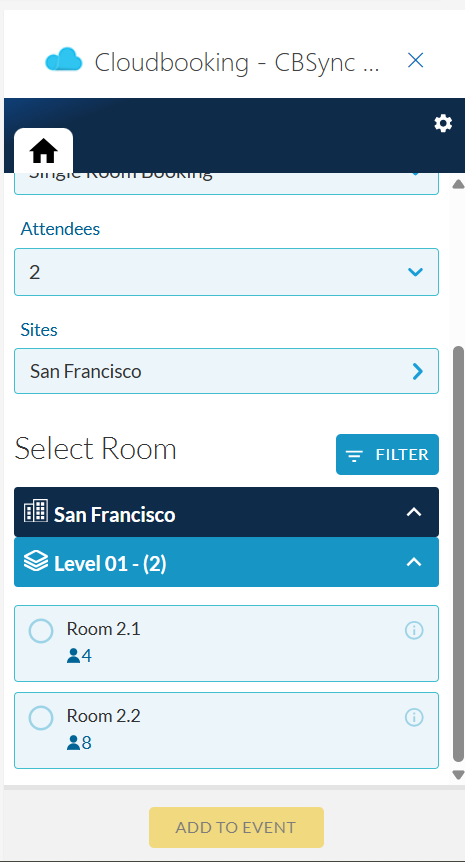
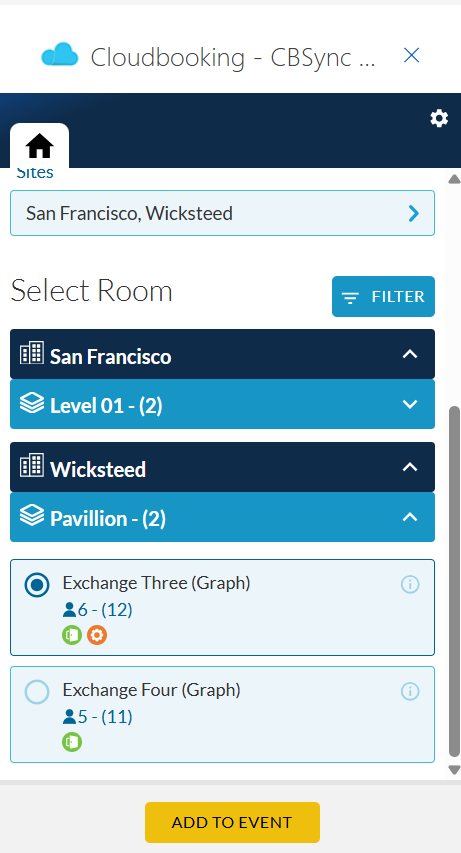
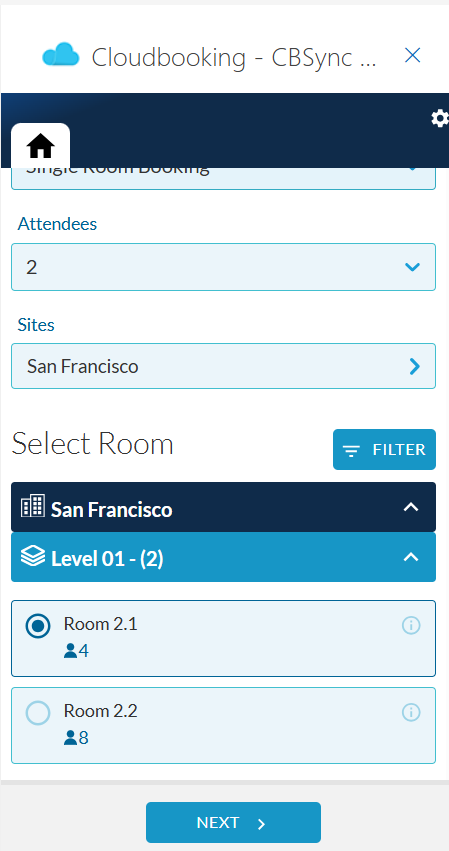
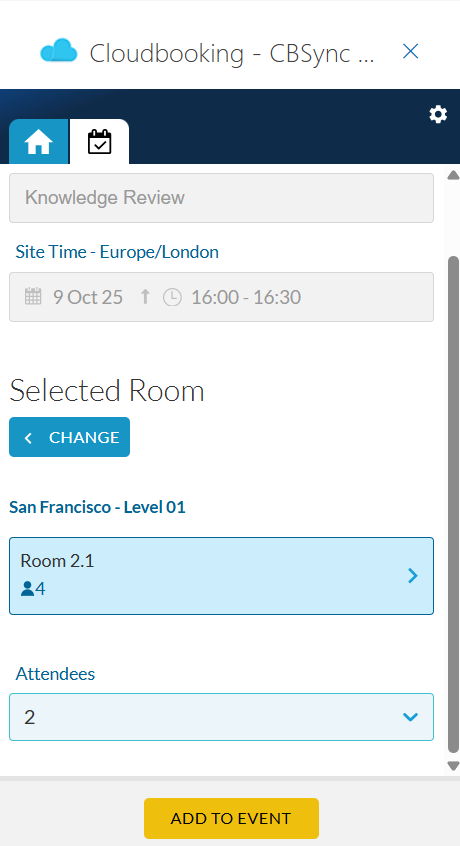
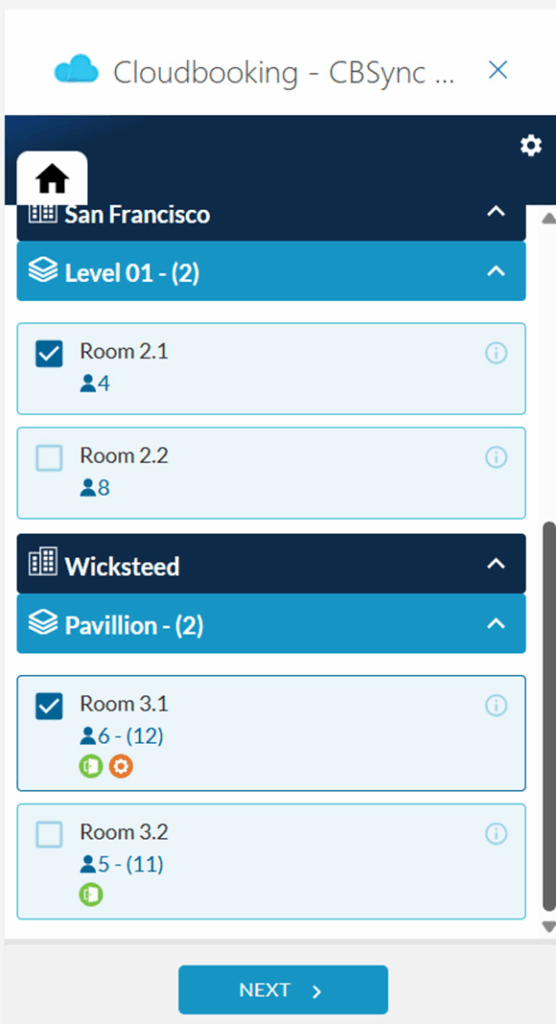
Once selected, the add-in will open. All available rooms for the site you have selected will also be shown. The capacity of each room is displayed under the room name, next to the person icon.
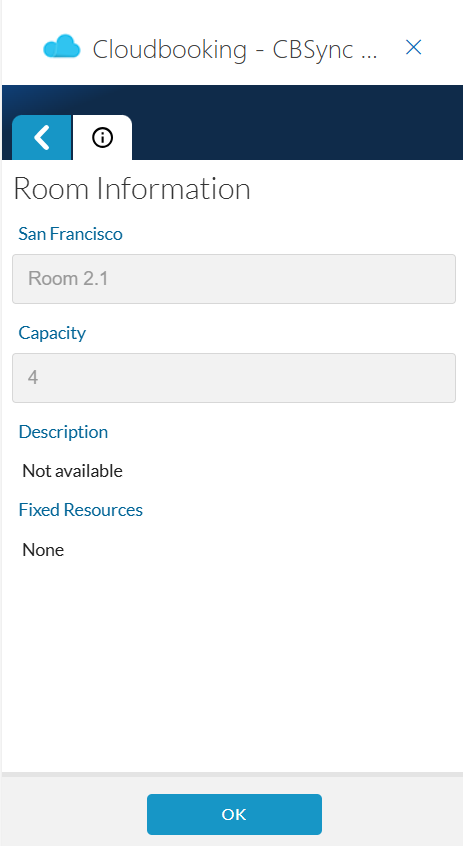
Selecting the ‘i’ button on the top right corner of the room button will show you information regarding that room, such as description, fixed resources.
Complete all the required fields on the booking form, then select ‘Add to Event’ at the bottom of the screen to add the room to the location field on the invite.
Any further edits to the booking, including the repeats booking pattern, times, dates and number of attendees can be made in the outlook window.
Once saved in the add-in the room will be added to the ‘Location’ field on the Outlook invite.
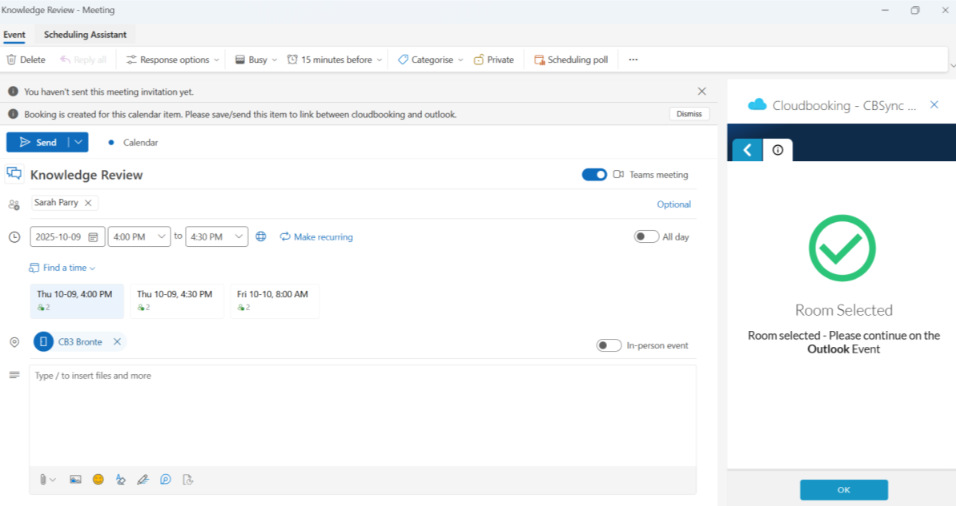
Select ‘Send’ on your Outlook invite to finish the booking and invite the attendees.
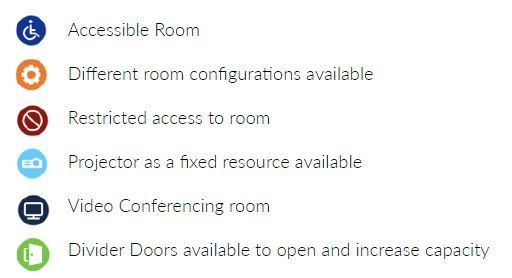
Get to know the Cloudbooking icons
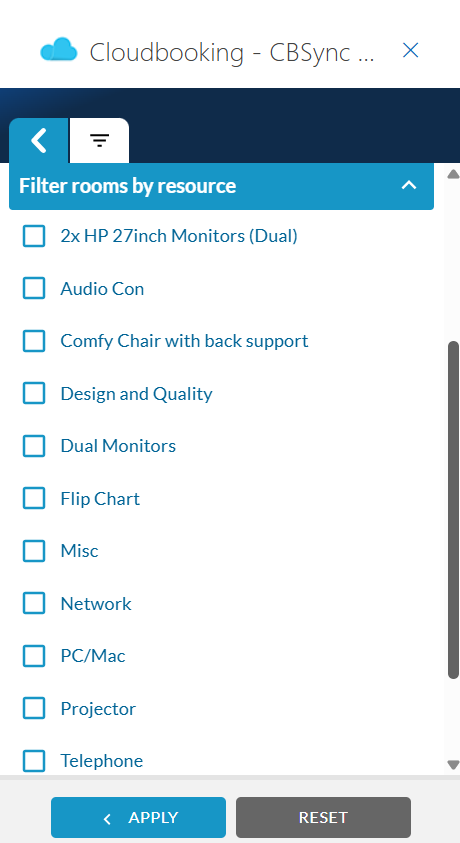
Using Filters
To filter rooms by available resources, click ‘Filter’, select the resources you need, and click ‘Apply’. Suitable rooms will now be listed.
Adding Hospitality (If Applicable)
To add Hospitality to your booking, select the room name in the booking form and click ‘’Next’
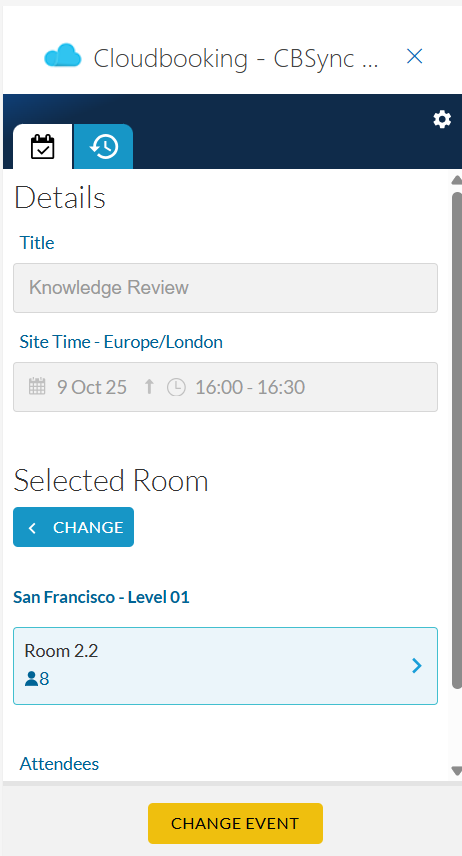
On the Details screen, click on the selected room to open the hospitality tab.
The hospitality tab with the icon

will be displayed provided hospitality is permitted in the room and you have the relevant permissions to book hospitality.
Navigate to the hospitality tab.
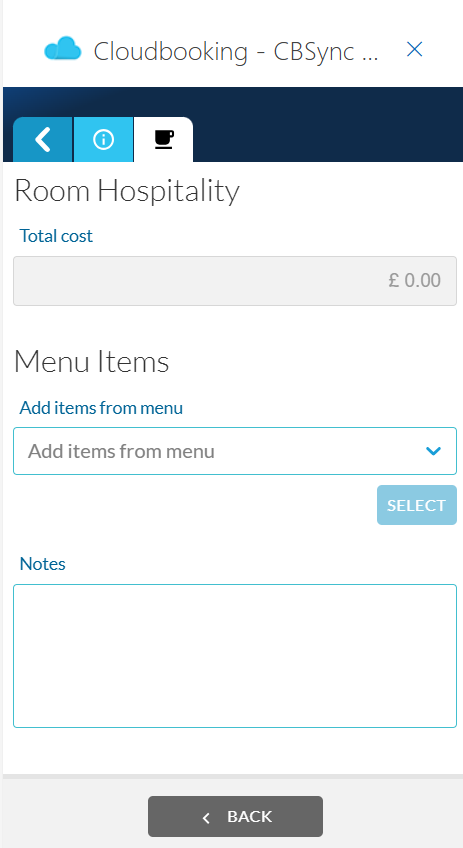
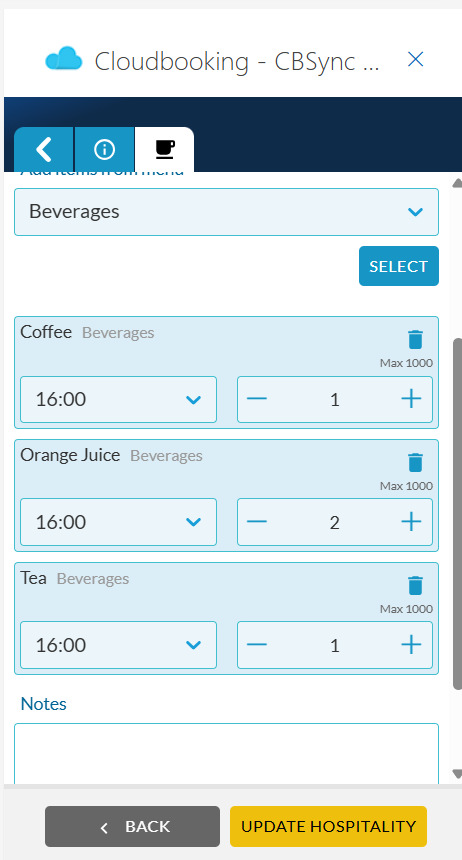
To select a menu click the drop down ‘Add items from menu’, click the menu you want, followed by ‘Select’. This will take you through to options screen for that menu.
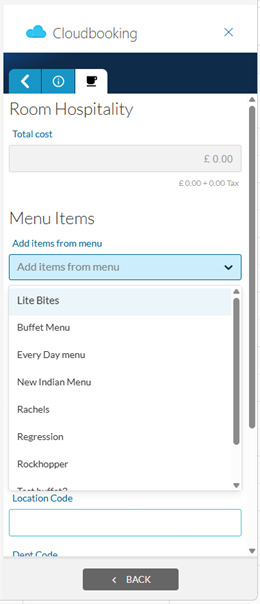
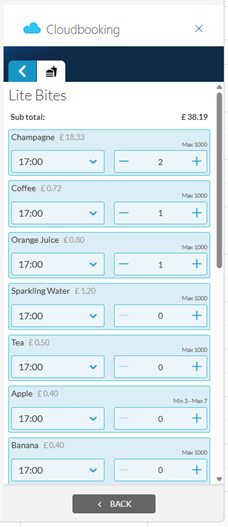
Select the items you wish to add by selecting the ‘+’ on the line item or typing the quantity in directly. You can change the delivery time of items by changing the time in the dropdown on the let. Click ‘Back’ once the menu items have been selected.
PLEASE NOTE: You can add items
from more than one menu.
To add items from a different menu.
Select another menu and
follow the process again.
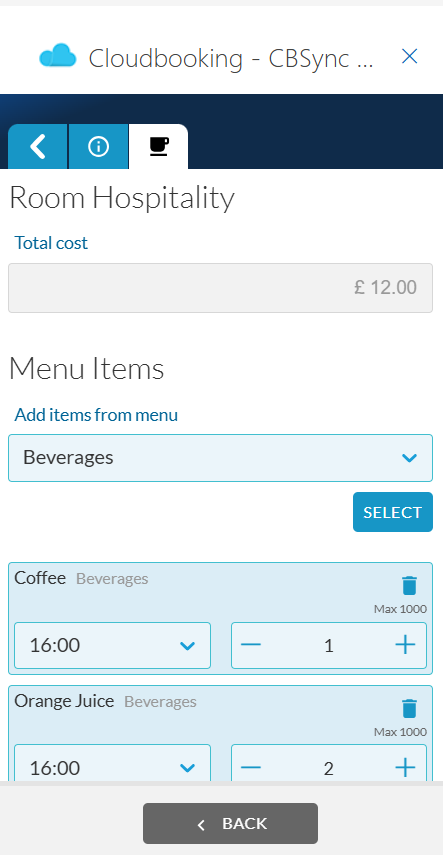
You will then see the items within the ‘Room Hospitality’ Screen. Select ‘Back’ to add items and return to home screen.
Complete all the required fields on the booking form, then select ‘Add to Event’ at the bottom of the screen.
Any further edits to the booking, including the repeats booking pattern, times, dates, number of attendees can be made in the outlook window.
Once saved in the add-in the room will be added to the ‘Location’ field on the Outlook invite.
Select ‘Send’ on your Outlook invite to finish the booking and invite the attendees.

Editing a booking
Open the meeting from your Outlook calendar and select the Cloudbooking add-in.
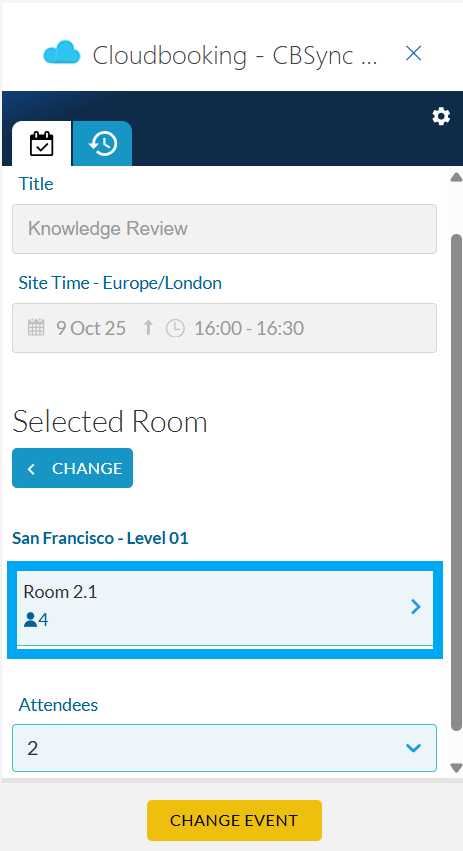
To find an alternative room for your booking, open the booking in Outlook and launch the add-in. Click on ‘Change’ to select a room and click ‘Change Event’. When you have made your selection, Click ‘Send’ on the Outlook window to finish the room booking.
The time, date and attendees are all managed in the Outlook invite.
Once you have the Cloudbooking add-in open you can change the date, time and add/remove attendees directly in the Outlook invite and you shall see the changes reflected in the add-in.
Editing Hospitality
To modify the hospitality items, launch the add-in and navigate to the hospitality tab
to make any changes.
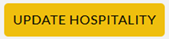
Once all the hospitality amendments have been made select ‘Update Hospitality’
in the add-in to save the changes.
A confirmation message will be displayed to confirm the booking has been updated. If the selected menu items are not available at the selected time, a message will be displayed that the menu item is not available for the time selected.
Please note that if the booking has hospitality attached, the add-in has to be launched
every time you make an edit to the booking to avoid losing the hospitality items.
Cancelling a booking
The meeting can be cancelled entirely in Outlook, you will not need to open the Add-in to do this.
To cancel the meeting entirely, select ‘Cancel Meeting’ in the top left of the Outlook invite.
This will remove the meeting from your Outlook calendar, room calendar and Cloudbooking, and inform the attendees of the cancellation.
To take a room off a meeting invite, remove the room from the location field and press Send. This will update the invite and also remove the room from Cloudbooking.
Multi Room (If Applicable)
Follow the steps to open the add-in as shown at the beginning of this guide.
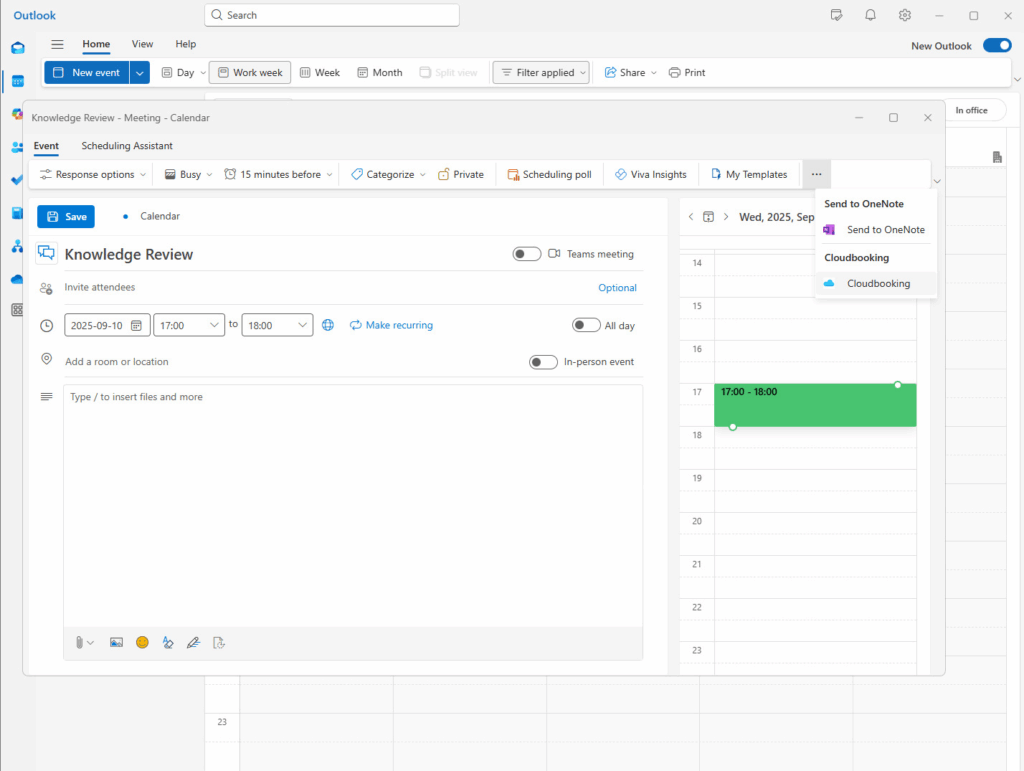
Once the add-in is open select the drop down under ‘Service’ and select ‘Multi Room Booking’.
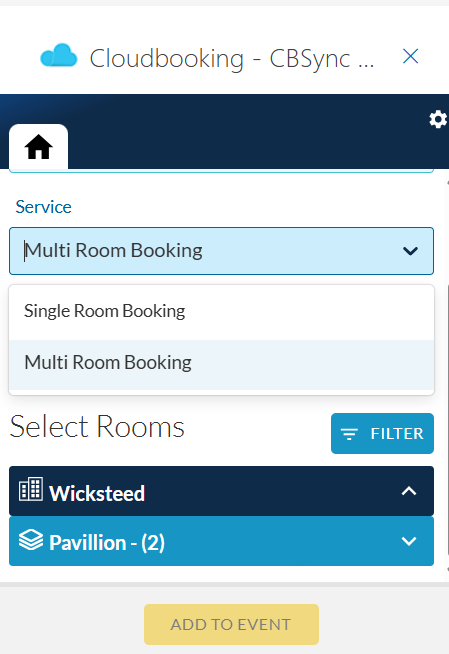
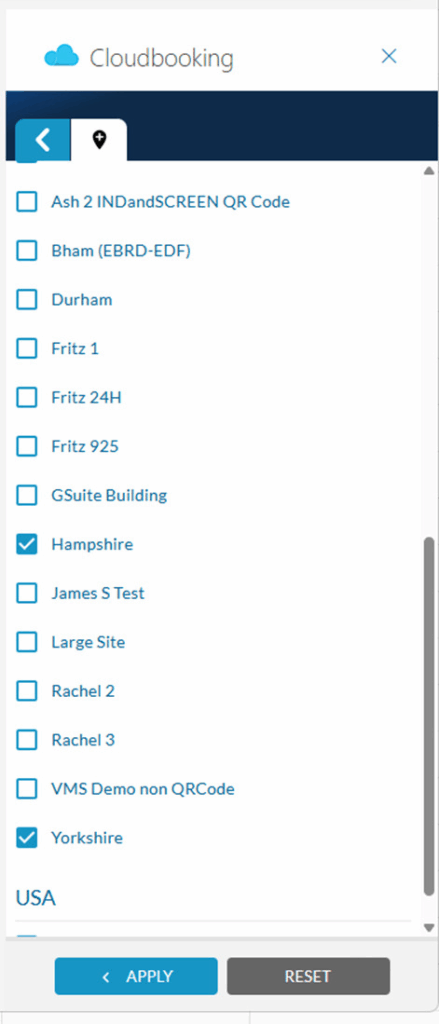
To add another site, select the ‘Sites’ menu to bring up a list of other available sites.
Select each site you require followed by ‘Apply’.
If you wish to book multiple rooms at the same site then you can select each room on the list followed by ‘Next’.
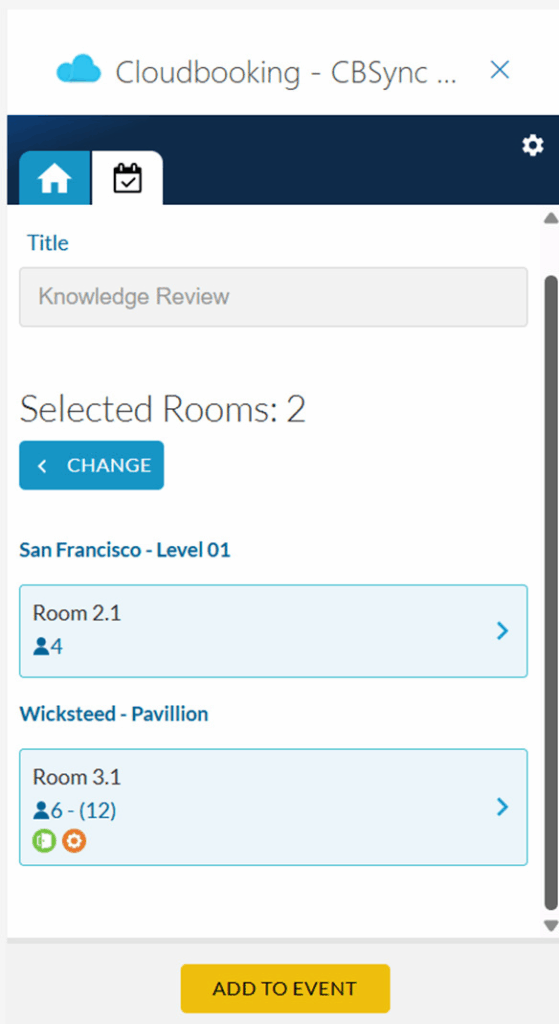
Once selected you will see the details of the booking, including all the rooms selected.
You can also change your room selection at this point by selecting ‘Change’ to see the room.
Once you’re happy with your room selection and all the correct details have been
entered you can select ‘Add To Event’. You will then be given a confirmation that the
rooms have been selected.
Once saved in the add-in the rooms will be added to the ‘Location’ field on the
Outlook invite.
Select ‘Send’ on your Outlook invite to finish the booking and invite the attendees.
The meeting will now appear in your Outlook calendar, the room calendar, and the Cloudbooking portal.
PLEASE NOTE: You must send the Outlook invite in order for the booking to be completed successfully.
If you wish to add hospitality to a multi-room booking please complete your booking as shown above, then add hospitality from within the Cloudbooking Portal via a browser.
Editing and cancelling multi room booking
Editing
You can edit and cancel a Multi Room booking in the same way you can a Single Room booking.
Open your Outlook calendar invite, then open the Cloudbooking add-in.

Make any amendments you need by clicking on ‘Change’, you can add additional sites or rooms or remove sites and rooms by selecting the desired rooms or sites and actioning as appropriate.
Please note that editing multi room bookings for repeat series via the add-in is currently not supported.
Once all changes have been made, select ‘Add To Event’ to save the changes

and then click ‘Send’ on your calendar invite.

Cancelling
To cancel a meeting, follow the same steps as shown previously in this guide for ‘Cancelling a booking ’.