Quick Content Links
Making a multi room booking
Editing a multi room booking
Deleting a multi room booking
Making a multi room booking
From your Calendar, select the time and date for your booking.
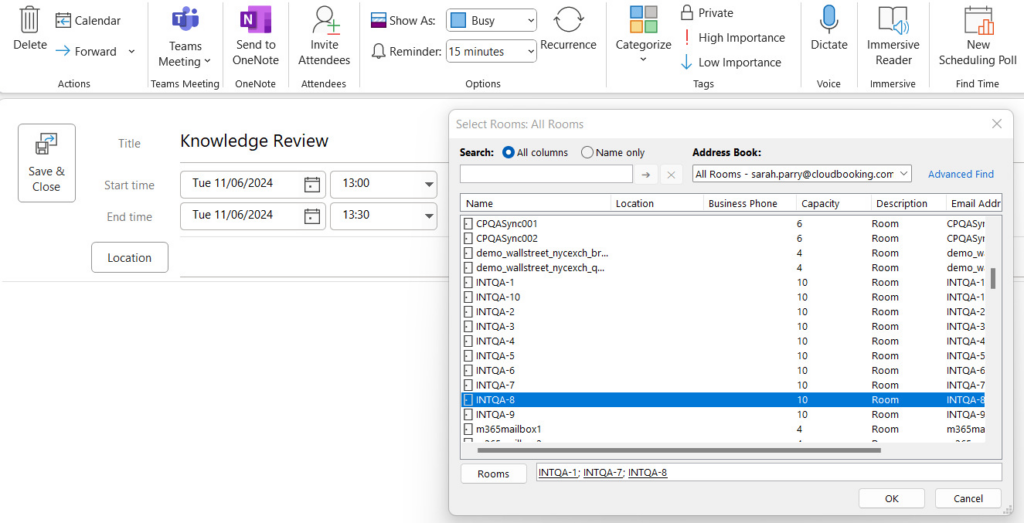
To book multiple rooms you’d like to use for your meeting, please ensure you add them to the location field. Adding multiple rooms in the attendee tab is not supported and may lead to unexpected behaviour.
The room(s) you wish to book must be set up to sync with Cloudbooking.
Complete all other details of your booking and click ‘Send’
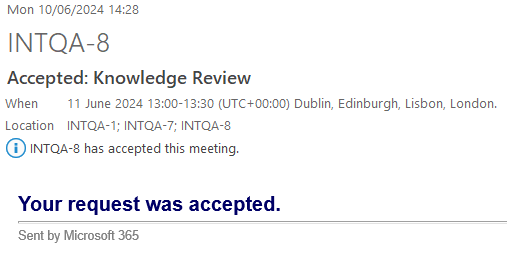
An email notification will be received from the selected room(s) that the booking has been accepted.
The Room(s) you have booked will appear in your calendar and the Cloudbooking Portal.
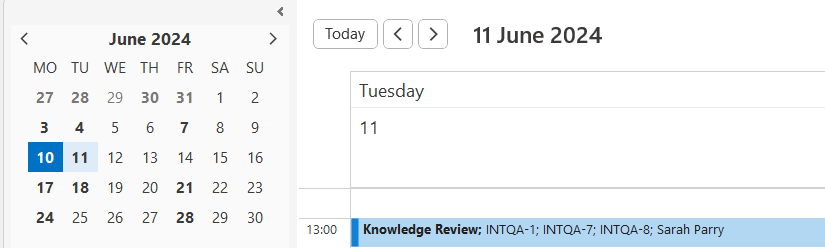
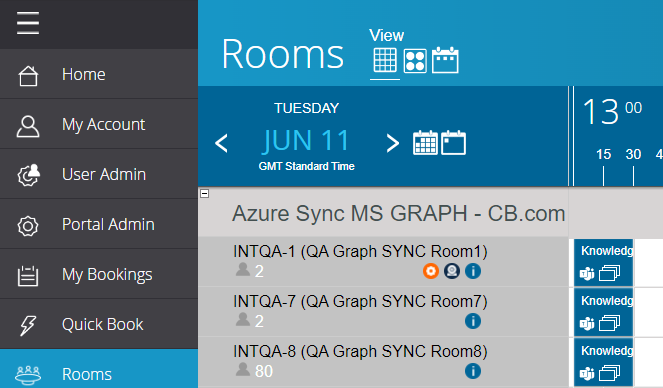
This icon denotes that the booking is a multi room booking.

Editing a multi room booking
Any edits you wish to make to your booking must be made in your Calendar.
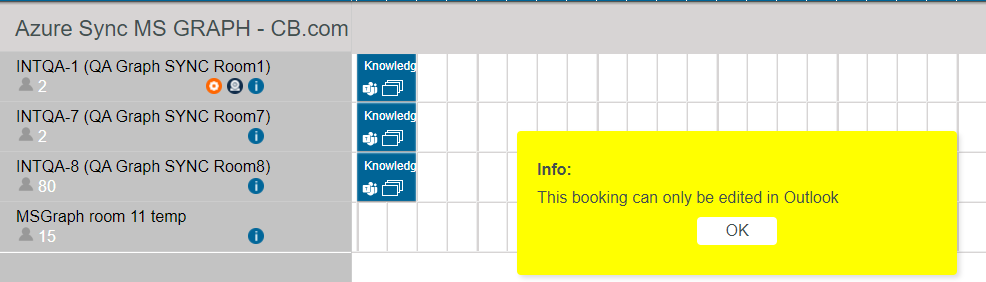
Attempting to edit the booking in the Cloudbooking Portal will present you with the following message:
To edit the booking in your calendar, click on the booking to open the edit window.
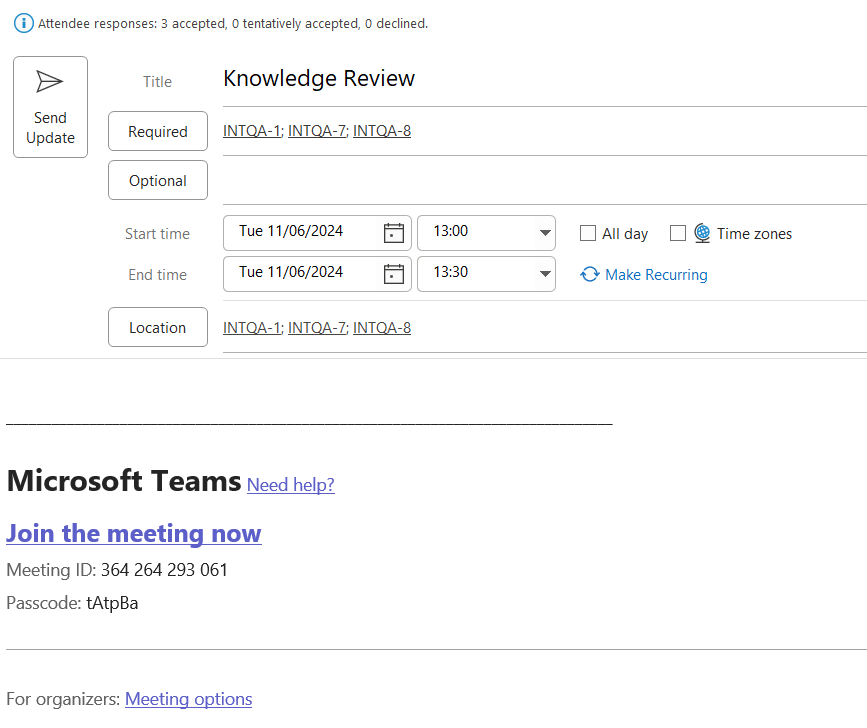
Make your changes as required and click ‘Send Update’ Your booking will be updated in your Exchange Calendar, the Calendars for your selected Room(s) and the Cloudbooking Portal.
Deleting a multi room booking
To delete the booking in your calendar, select your booking and select ‘Cancel Meeting’ from the top task bar.
The meeting will be removed from your calendar, the calendars for the selected room(s) and the Cloudbooking Portal.