The Cloudbooking Teams Application enables users to make desk bookings via Microsoft Teams, that will automatically sync with the Cloudbooking Portal.
Quick Content Links
Downloading the app
Signing in
Making a desk booking
Checking in to a booking
Curtailing a booking
Editing/Deleting a booking
Making a repeat booking
Editing/Deleting a repeat booking
Downloading the app
Open your Microsoft Teams app and select the three dots from the menu on the left to search for apps.

Search for ‘Cloudbooking’

Click ‘Add’
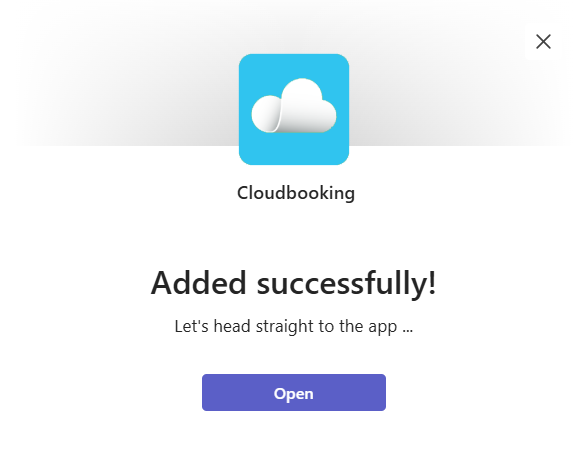
Click ‘Open’ to start using the app.
Right click on the Icon to pin it to your Teams App Menu.
You’re now ready to sign in and start using the app.
Signing in
From your Microsoft Teams home screen, click on the Cloudbooking app on the left of the screen.
If the app icon doesn’t appear, click on the three dots or the Apps icon to search for it, then pin it to appear on the home screen.
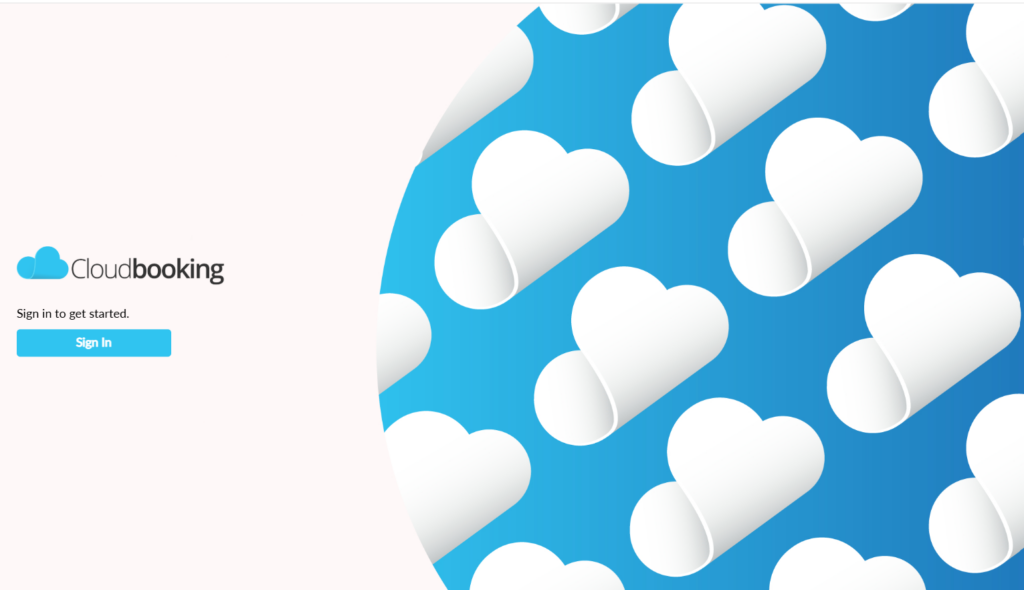
The Cloudbooking Teams App is configured via SSO (Single Sign on), so just click ‘Sign in’
Please Note – When downloading the app, if you see a ‘Request’ button, it means your organisation may have restricted app installations through admin policies. Click on the ‘Request’ button which will trigger an approval process via your admin. Once approved, you can resume the download process and select ‘Add’, at which point you will then be in a position to download and use the app.
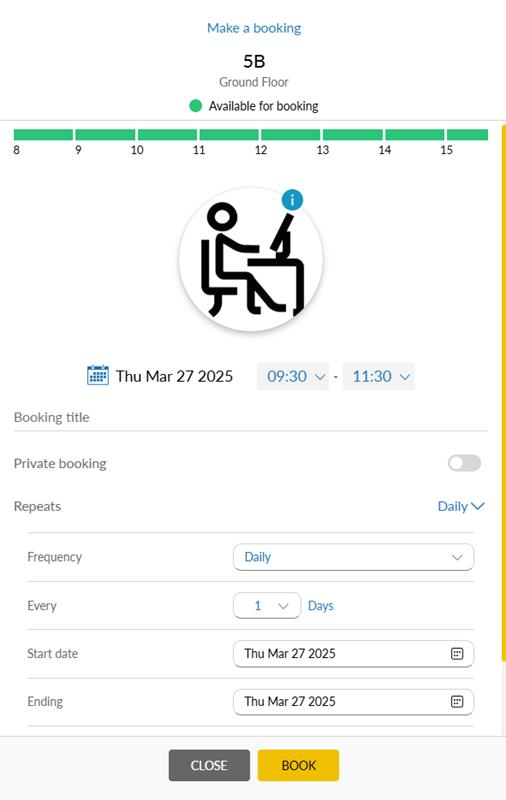
Making a desk booking
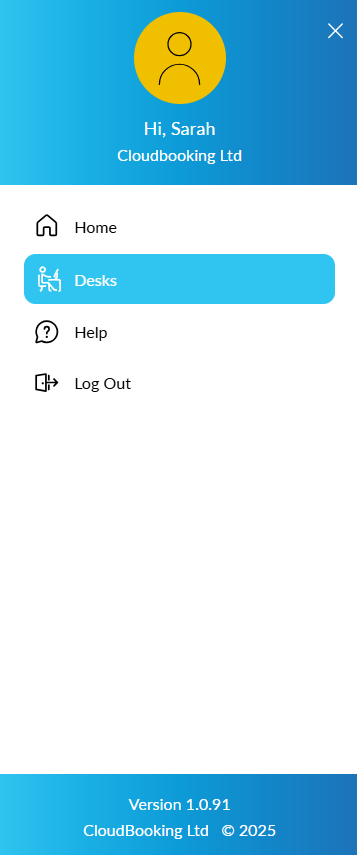
You will now be on the application home screen. Select ‘Desks’ from the dropdown menu.
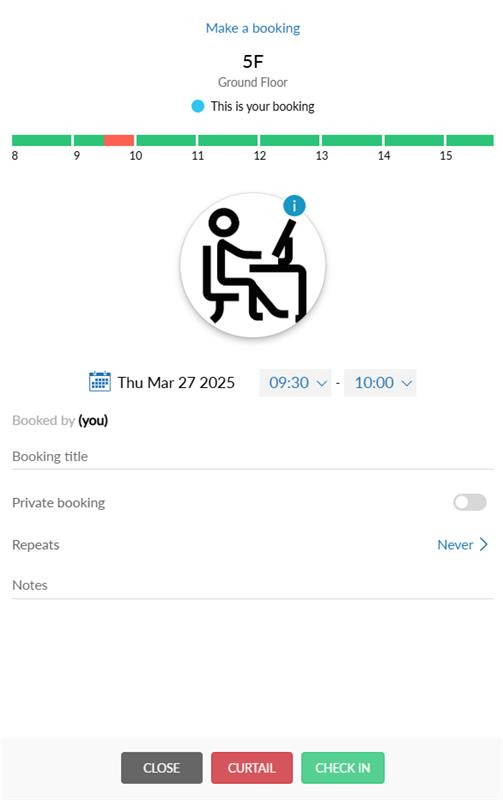
Select the Site, Area, Date and Time of your booking from the dropdowns at the top of
the screen.
Select the end time dropdown to specify the end time of your booking.
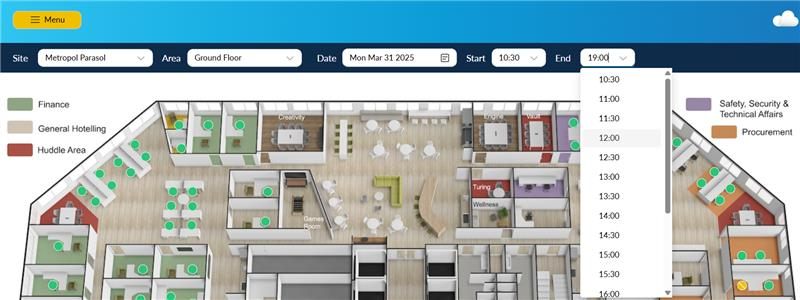
The default view will show you the floorplan to book from.
The different colours indicate a different status for the desks. Available desks are
displayed as green pins. Click on a green pin to open the booking form.
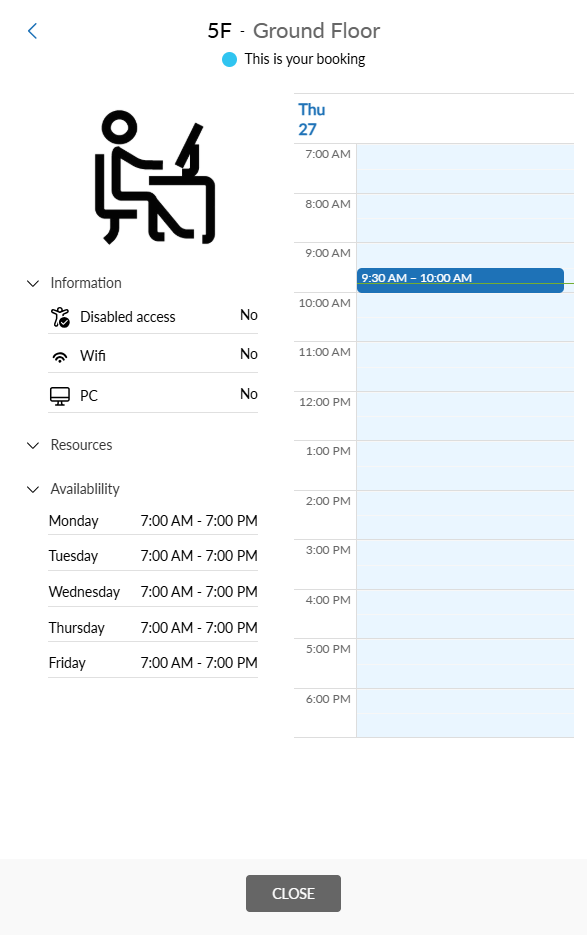
Clicking on the information icon opens up the info screen. This screen contains further
information about the desk and its availability.

If the desk is suitable for your needs and is available for the required times, click ‘Book’
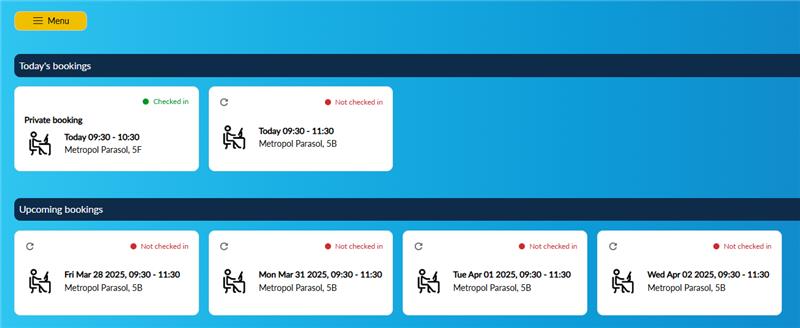
You will receive a notification that your booking has been successful and an email to confirm.
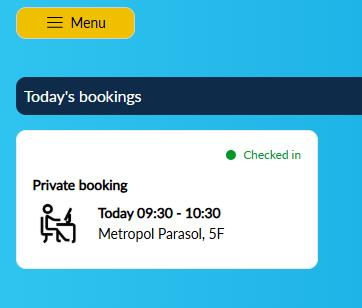
The booking will appear on the app home screen as a card.

To make the booking private, simply click on the booking card on the home page, and when the booking form loads, tick ‘Private’
The booking will be marked as a private booking on the booking card.

Checking in to a booking
To check in to a booking simply click on the booking card on the application home screen
to open the booking form.

Click ‘Check in’. The booking card on the home page will update to display ‘Checked in’
Curtailing a booking
To curtail a booking simply click on the booking card on the application home screen.

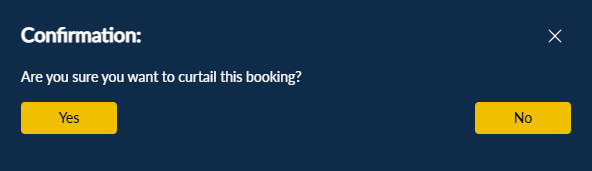
Simply click ‘Curtail’ to curtail your booking and click ‘Yes’ when the confirmation appears
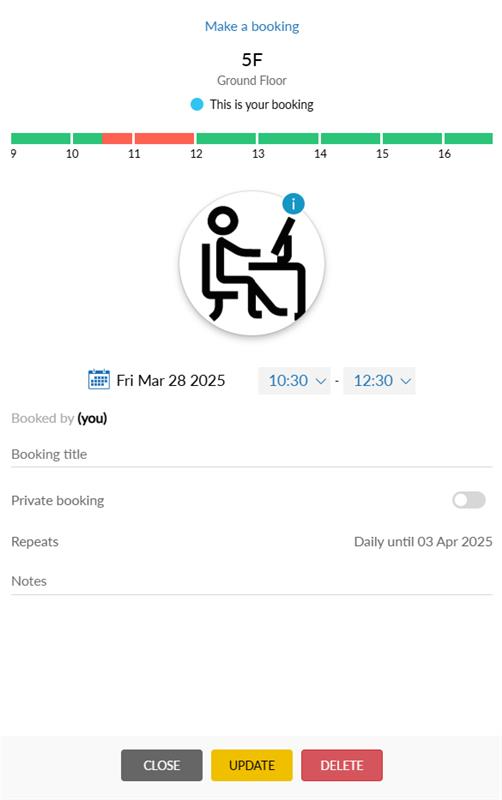
Editing/Deleting a booking
To edit or delete your booking, simply click on the booking card on the application home screen.

Make your changes as required and click ‘Update’ to save your changes or ‘Delete’ to cancel your booking. Click ‘Yes’ when the confirmation screen appears.

You will receive a notification of your changes and your booking will be updated or deleted.
Making a repeat booking
Select your preferred desk for booking as outlined previously.
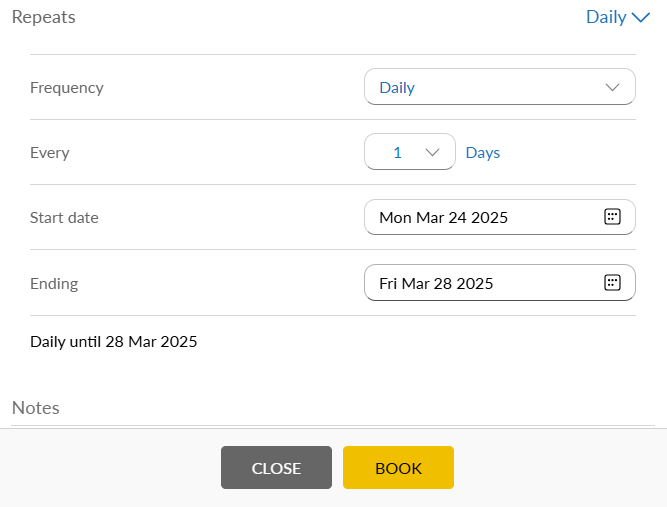
When the booking window opens, you will see an option for Repeats.
Click on ‘Never’ to display repeat booking frequency options.
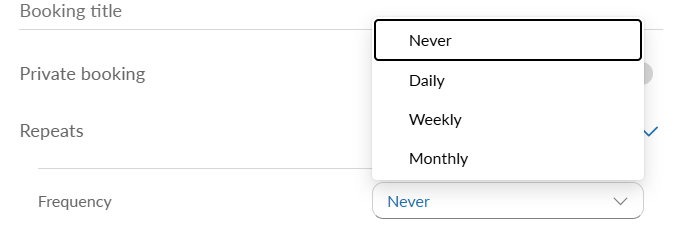
Make your repeat frequency selections as required and click ‘Book’
Your repeat booking series will be displayed on the home page as cards with a repeat icon
in the top left-hand corner.’
Editing/Deleting a repeat booking
To edit a repeat booking, click on the card on the home page which opens this pop up
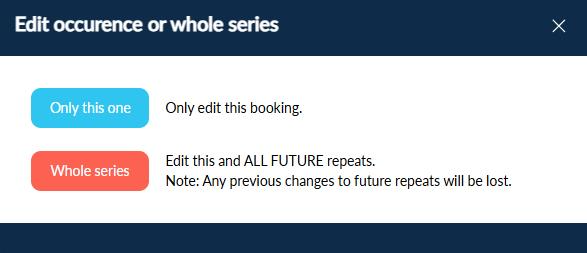
Users can choose to update either the current booking or the entire series.
Making either selection opens the booking form
The ‘Update’ button will appear once changes have been made to the booking form.
Make your changes as required and click ‘Update’ to save your changes or ‘Delete’ to
cancel your booking. Click yes when the confirmation screen appears.
If updating the booking, the card on the home page will update to reflect changes.
If the booking is deleted, the card will be removed from the home page.