Quick Content links
How to book a desk via the floorplan
How to book a desk via the booking grid
Desks, like rooms can be booked either via the booking grid or the floorplan if a floorplan is available on your portal.
How to book a desk via the floorplan
Please log in to your Cloudbooking account via your portal URL.
You will now be on the home screen.
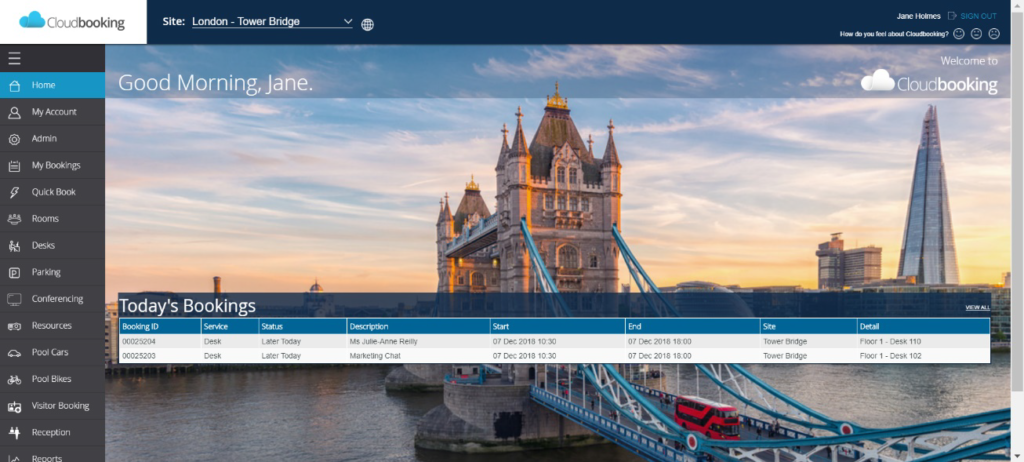
Select the site you want to make your booking on then click on the Desks icon in the menu on the left.
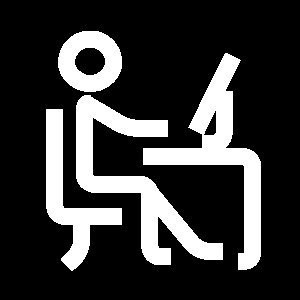
If a floorplan is available on the site the default view will show you the floorplan to book from.
The different colours indicate a different status for the desks – for more information on this please see the PIN colours explained guide.
To book a desk simply click on one of the green desks to bring up the New Desk Booking screen.
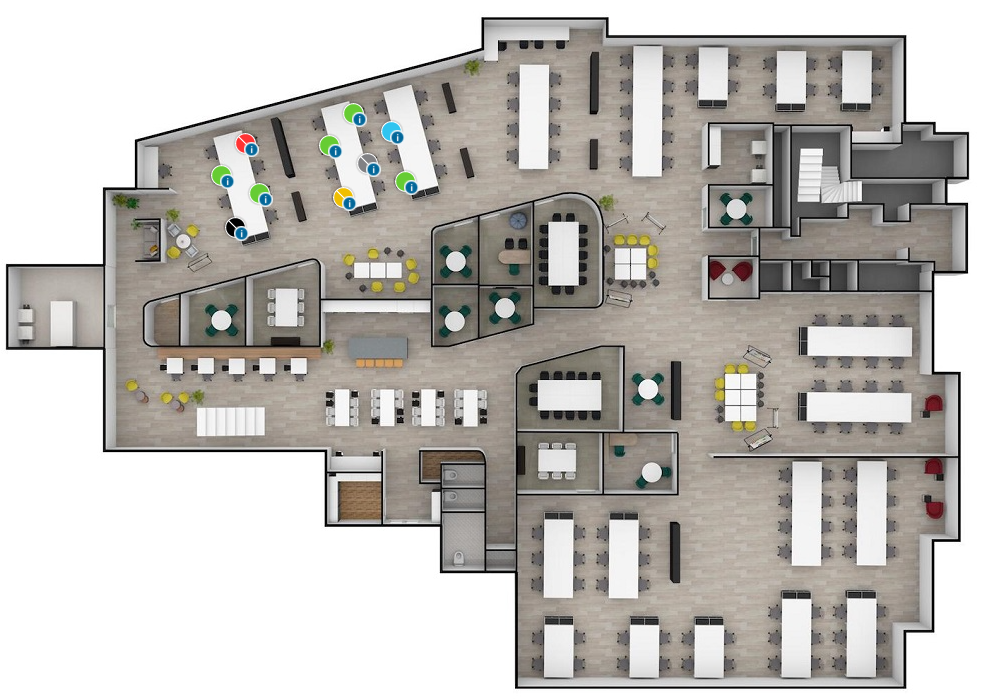
Fill in all the required into the booking screen and select Save to complete the booking.
You will receive a New Booking Created success message confirming the booking has been made and the desk will appear as blue on the floorplan, indicating it is your booking.

How to book a desk via the booking grid
If your portal has a floorplan available the Desks menu will automatically show the floorplan when you navigate to it. However if you wish to book via the booking grid you can do this.
Select the Grid icon in the top left next to Desks.

You will now be on the booking table as shown below.
Select the date required, you can also select a preferred floor by changing the Area drop down in the top right to see which desks are available.
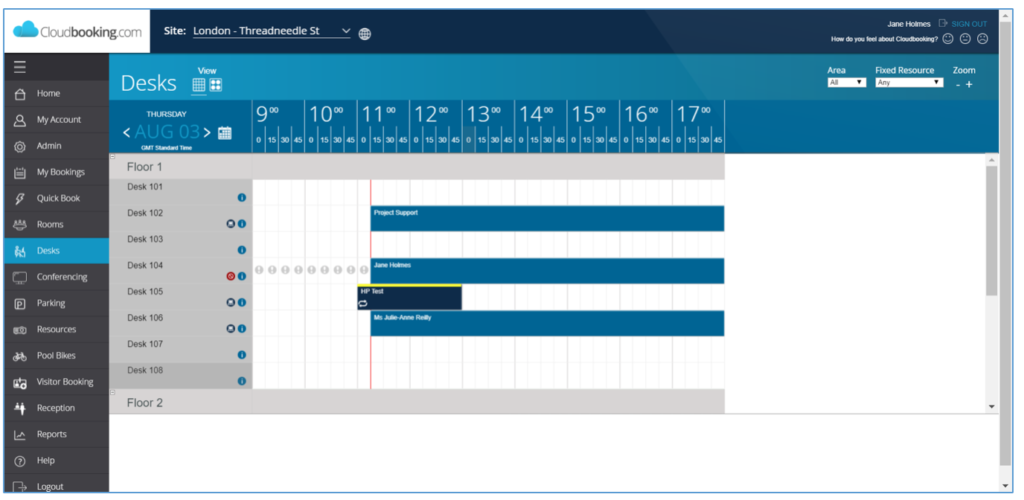
Select the start time of your booking on an available desk and drag the slot to the time you want your booking to end. This will display the New Desk Booking screen.
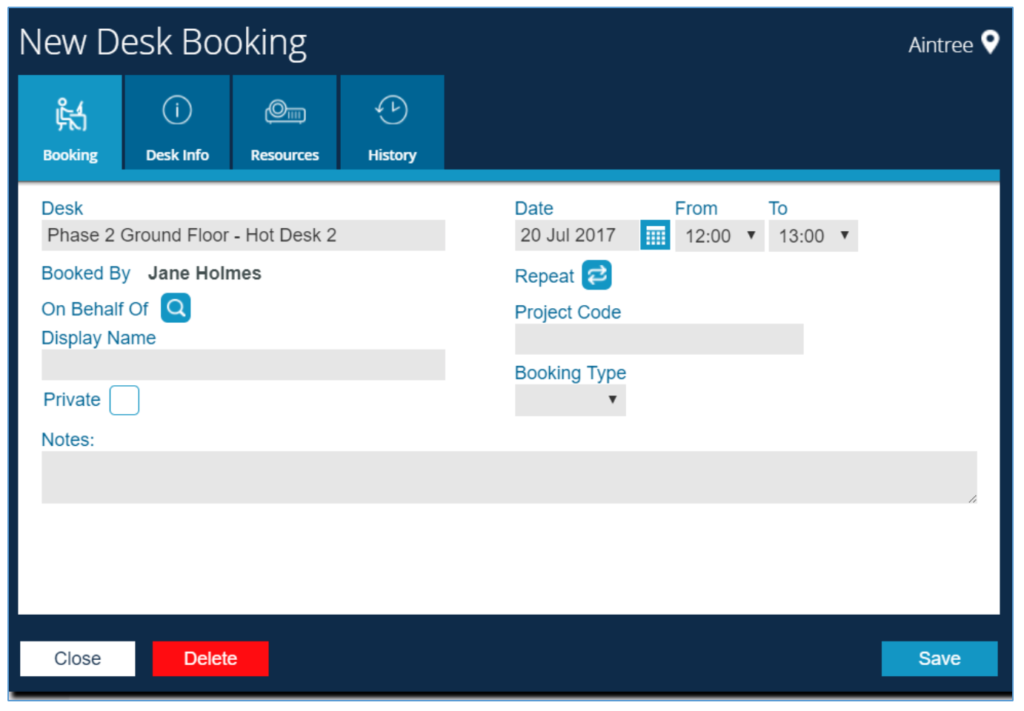
Fill all the required into the booking screen and select Save to complete the booking.
You will receive a New Booking Created success message confirming the booking has been made your booking will then appear on the grid.