📱Get the Cloudbooking Mobile App
Download the Cloudbooking mobile app to start booking and managing your workspace on the go.
Android – https://play.google.com/ [play.google.com]
iOS –https://www.apple.com/app-store/ [apple.com]
Quick Content Links
Important information
Making a booking
Pin colours explained
Booking on behalf of
Checking in to your booking
Edit or cancel bookings
Frequently asked questions
📌 Important information
Please note: Some features described in this guide may not be available to all users. Access to certain functionality is controlled by your site administrators. If you cannot see a feature referenced here, please check internally to confirm whether it has been enabled for your organisation.
📅 Making a booking
Launch the Cloudbooking app from your phone.
Log in when prompted by entering your user credentials and password.
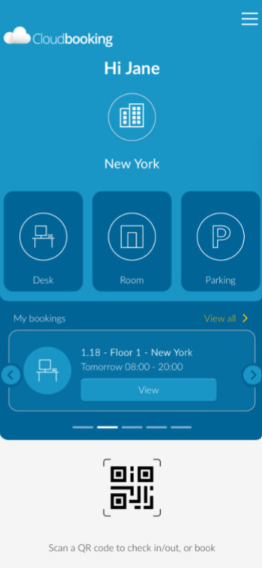
From the home screen, choose the booking type: Room / Desk / Parking or scan the QR code at the booking location.
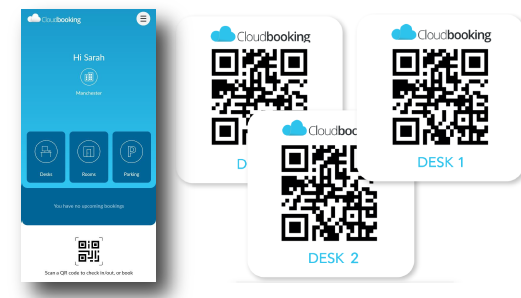
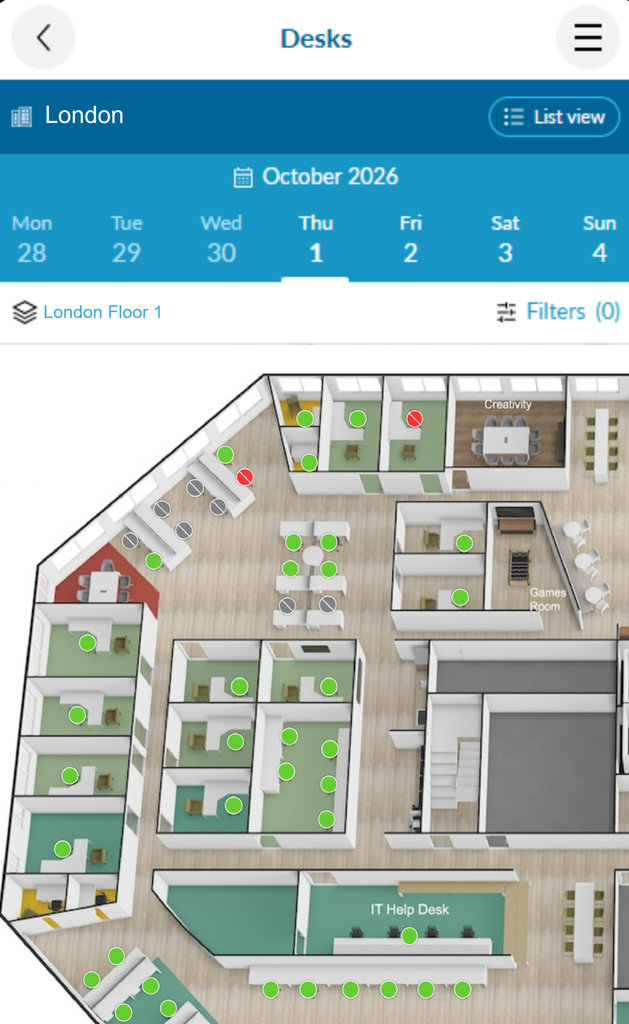
If you are booking a desk or room, there is an interactive floorplan available.
There is also a list view available for rooms, desks and parking.
Use the icons at the top of the screen to switch between list and floor plan view.
If booking from a floor plan, select a green pin to make a booking.
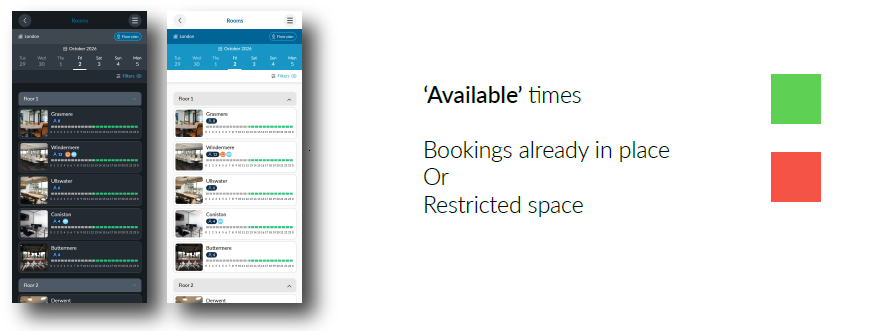
If using the list view, green will indicate an available space. Select your preference from the list. You can apply any relevant filters (Room capacity, desk location, parking site) to refine your selection.
The app will suggest alternatives based on capacity sizes, enabling you to review availability and details.
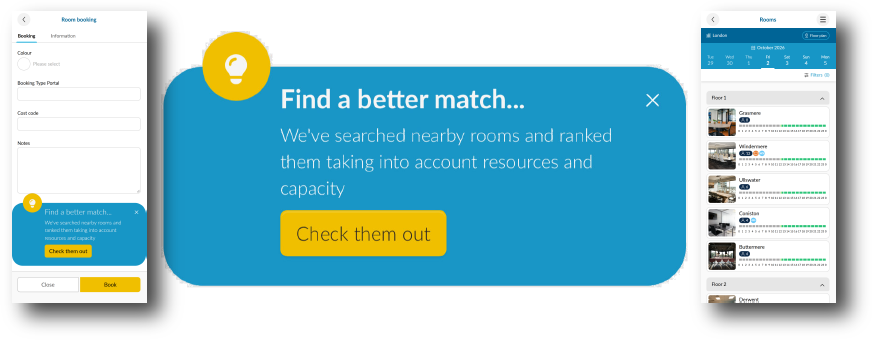
Use the pen icon to complete your booking details, date/time, meeting title, any notes (Car registration etc).
If you need your resource more than once, you can make a repeat booking at this stage. Daily, weekly or monthly occurrences are available.
Once all details are complete, confirm your booking.
You will be returned to the home page where your booking will be displayed.
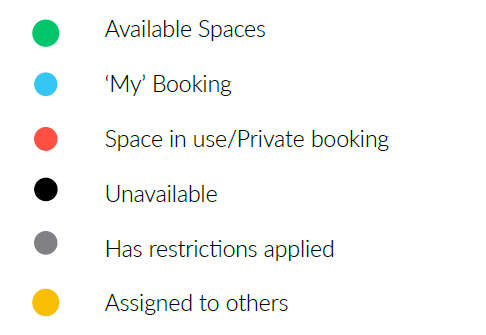
🟢 Pin colours explained
Desks, rooms and parking spaces are shown as coloured pins, indicating their availability status.
📅 Booking on behalf of another user
If you’re booking on behalf of someone else, open a booking form, select ‘On behalf of’, search for and select the colleague from the list, complete the booking as usual.
They will receive a confirmation notification and their name will appear on the booking, highlighted with ‘On behalf of’.
✅ Checking in to your booking
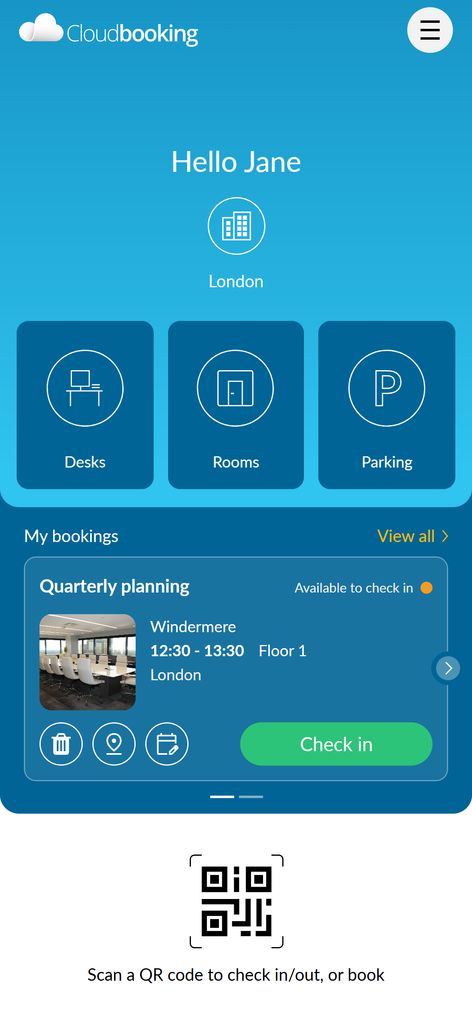
Open the booking in ‘My Bookings’.
Tap ‘Check in’.
Or, scan the QR code at the location of your booking (If available).
Your check in will be displayed in the app.
✏️ Edit or cancel bookings
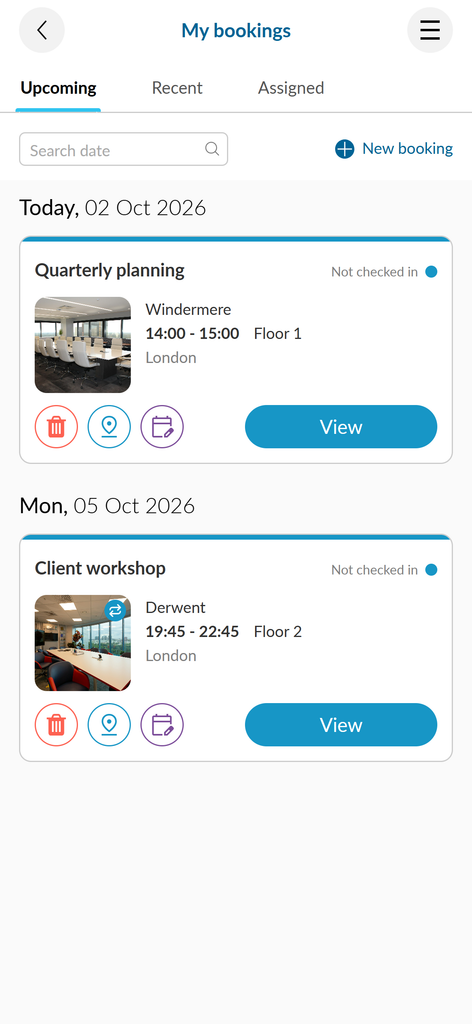
Locate the booking on your home screen or in ‘My Bookings’ and select.
Make your amendments and select ‘Save’ to complete or ‘Delete’ if you wish to cancel the booking.
If your meeting is currently in progress, you will only have the ability to ‘Curtail’.
If you wish to end the booking, select ‘Curtail’, select ‘Yes’ to confirm.
❓Frequently asked questions
- What devices does the app support?
Android 13 and above
iOS 16 and above - How do I log in?
Use company credentials / email - What do I do if I can’t see availability?
Check your network connection
Ensure you have the correct access level
Refresh the app - Can I edit or cancel a booking?
Yes. Go to ‘My Bookings’ to edit or cancel – Click Here - How do I check in to my booking?
You can check in using the QR code provided at the booking location or in the app - What happens if I don’t check in?
If you don’t check in, your booking may be automatically released for others to use - Can I book on behalf of someone else?
Yes, if you have permission. Select the ‘On Behalf Of’ option and choose a colleague – Click Here - Can I book recurring slots?
Yes, you can select daily, weekly or monthly options when creating a booking, provided this feature has been enabled by your organisation - Why can’t I see certain rooms/desks/parking spaces?
Availability may depend on location, permissions or existing bookings - Who do I contact for help?
Email: hello@cloudbooking.com
Your own IT helpdesk