The Cloudbooking Facilities app is used to display room and booking details on the tablets outside of rooms. The below guide outlines how to use these tablets.
Content quick links
Room Screen explained
How to book via the room screen
How to check in and out via the room screen
How to extend a meeting via the room screen
Room Screen explained
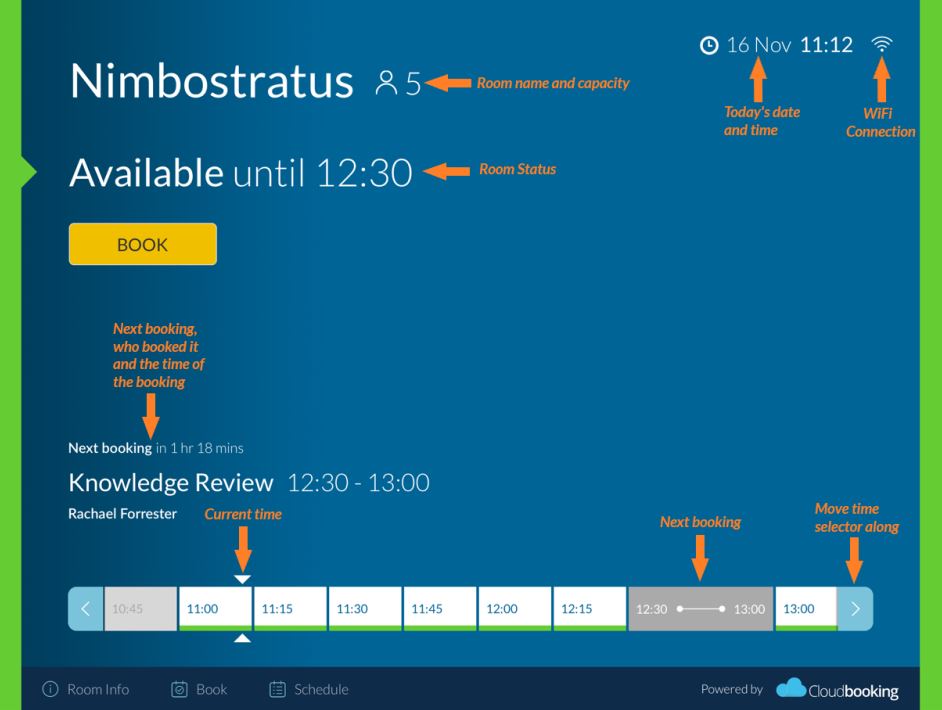
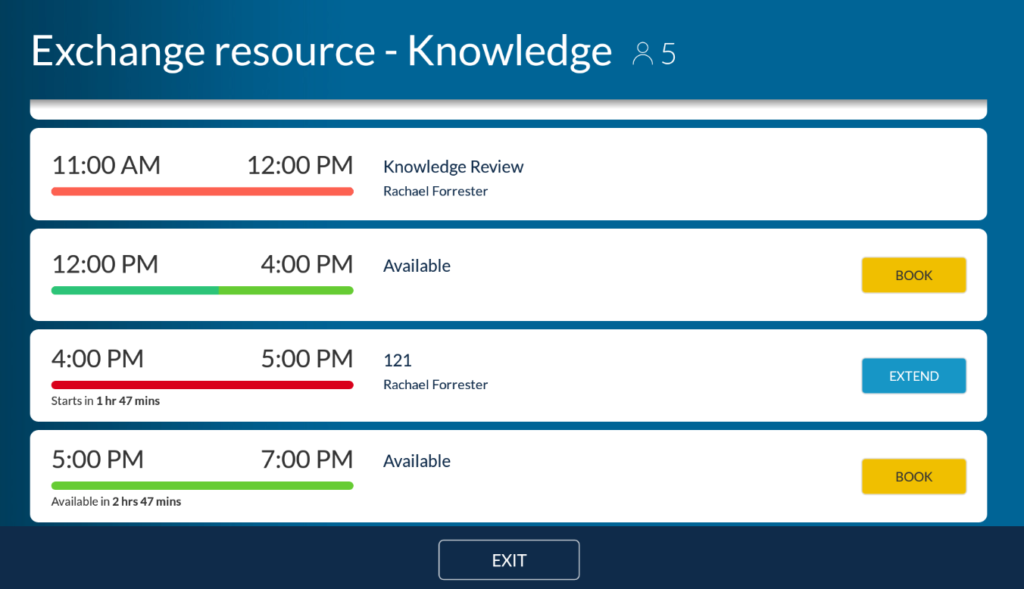
Screens are used outside of rooms to show their availability and allow you to book them should you need to. Below is an example of what the screen looks like along with annotations explaining what each part displays.
GREEN indicates the room is FREE
RED indicates there is a MEETING IN PROGRESS
Room Information
If you would like to see information about the room the screen is attached to you can select the Room Info button in the bottom left corner.

This will show you an image of the room as well as details such as capacity, special access, fixed equipment etc.
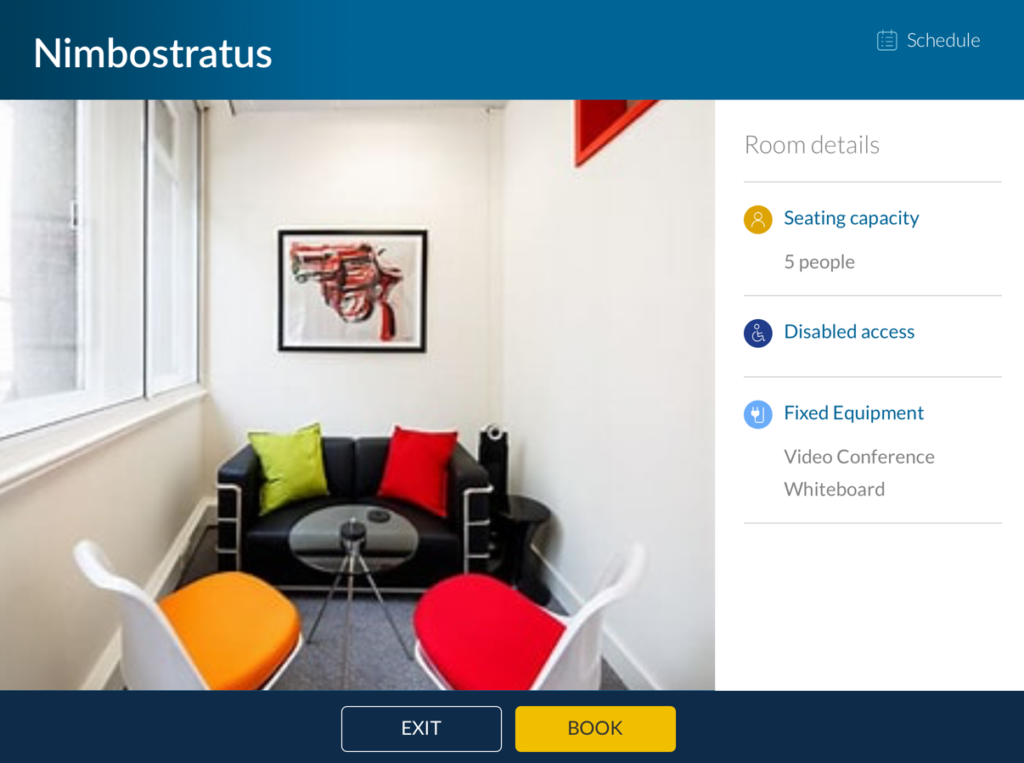
From here you can select Schedule in the top right to see the room schedule for that day or BOOK if you would like to book the room.
How to book via the room screen
It is possible to book a room by using the screen outside, this can be done a few ways.
1. Firstly, if the room is showing as Available the BOOK button will be visible, selecting this button will take you to the Make a booking screen.

2. You can also select a time slot that is green on the bottom time selector to be taken to the Make a booking screen. If you scroll to the time you want to start the meeting then this will be populated on the next screen.

3. Selecting Book in the bottom left corner of the screen will display the Make a booking screen.

4. Finally selecting Schedule in the bottom left corner of the screen will display the room schedule for that day. Select Book next to a free slot to be shown the Make a booking screen.

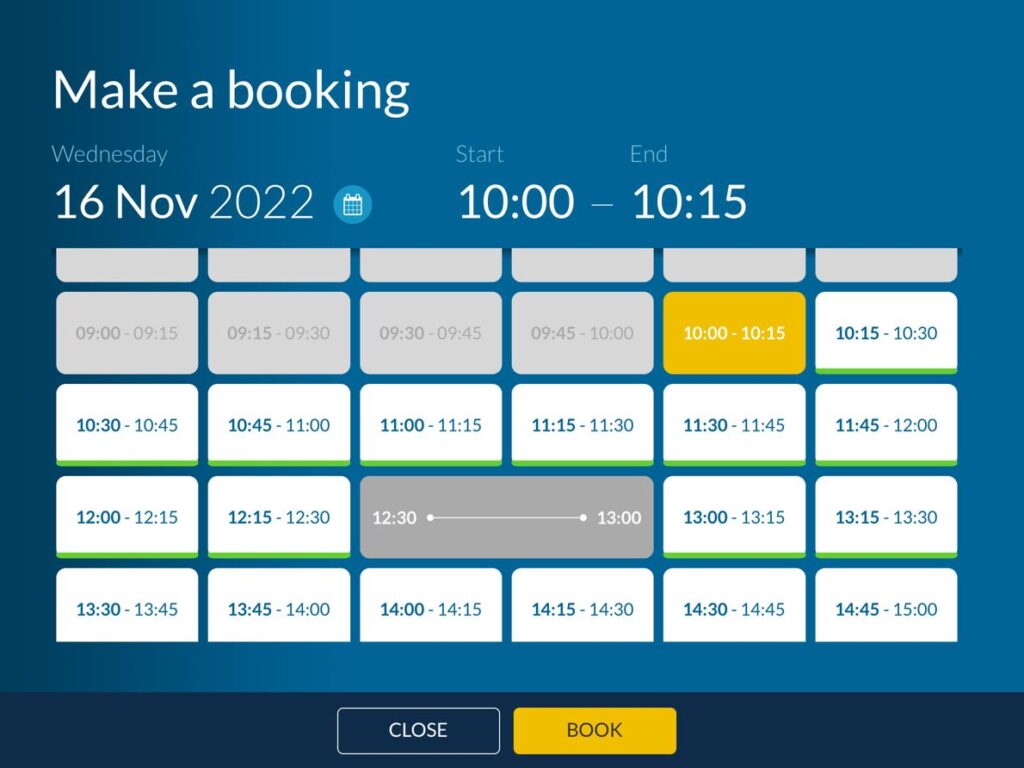
If you have selected the Book options to see the Make a booking screen the start time of the booking will be the current time. If this is not when you would like your booking to start, select the yellow tile to deselect it, find the time you wish the booking to start and select that time slot.
If you would like the booking to start immediately then just select the time slot you would like the booking to end. For example, if you wished to book 10:00 – 11:00 you would only need to select the end time slot of 10:45 – 11:00 and the time in between would also be selected.
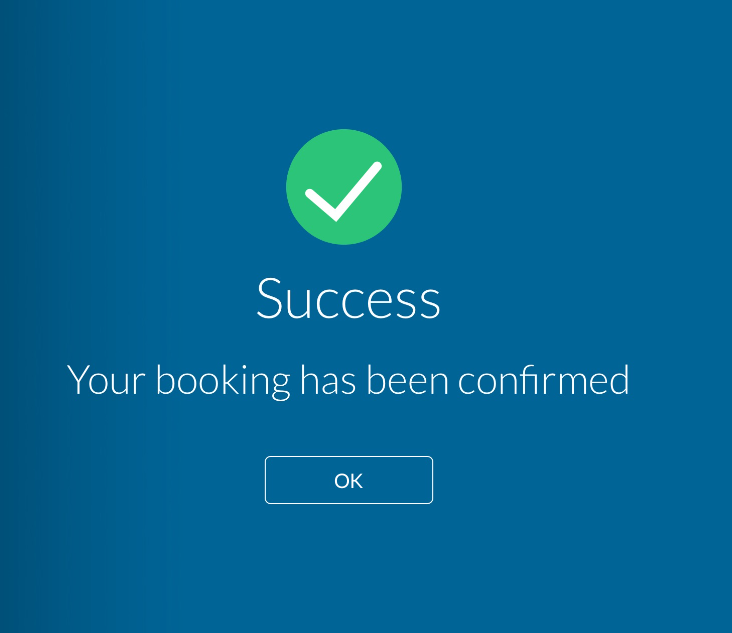
Once the correct time slot has been chosen select BOOK and the booking will be completed. A success message will be shown on screen.
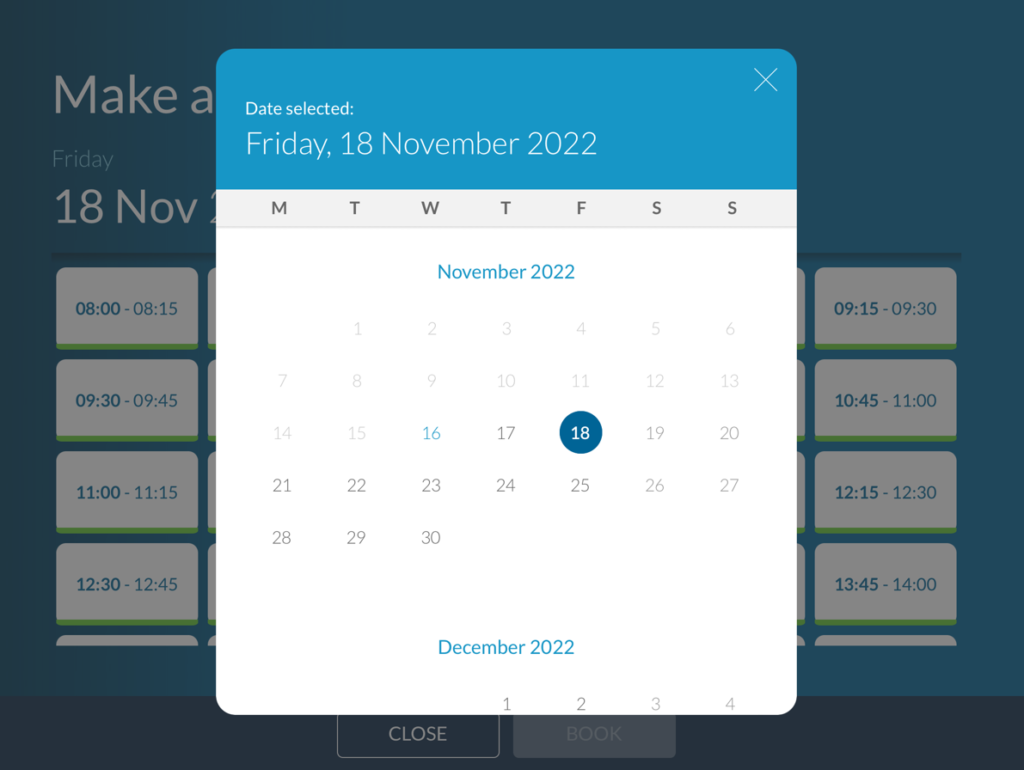
If you would like to book a date in the future select the calendar picker icon next to the date.

This will bring up the calendar. Select the date your preferred date and you will be shown the schedule for that day.
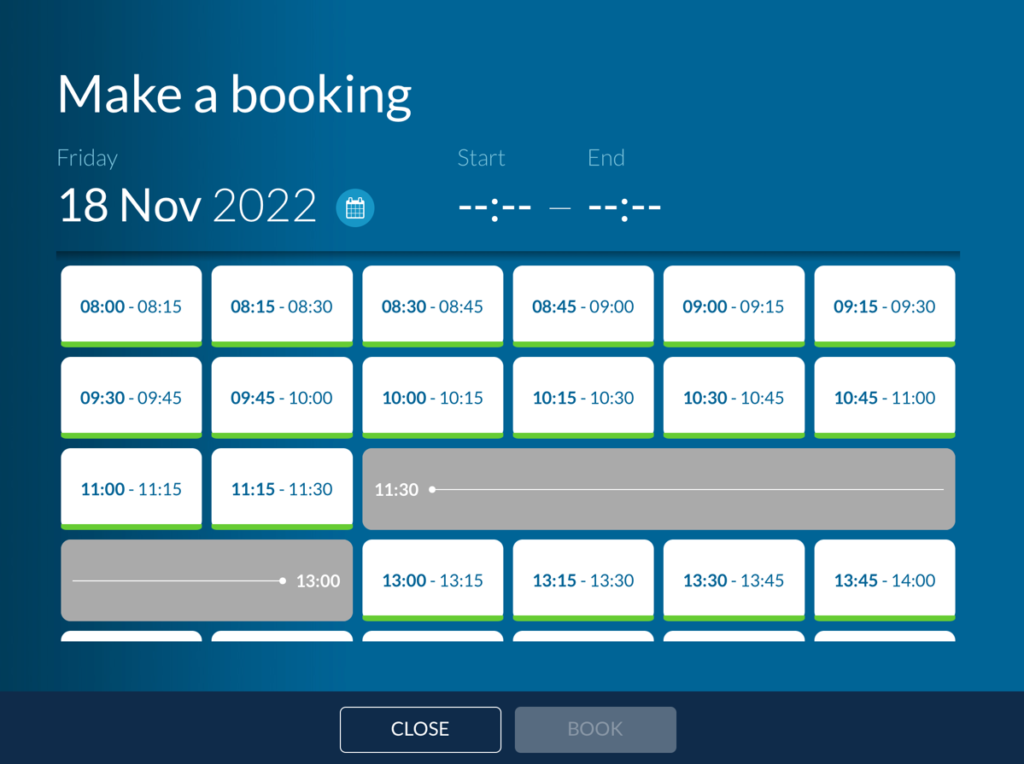
Select the time you would like and select BOOK to complete the booking. You will then see a success message confirming the room has been booked.
How to check in and out via the room screen
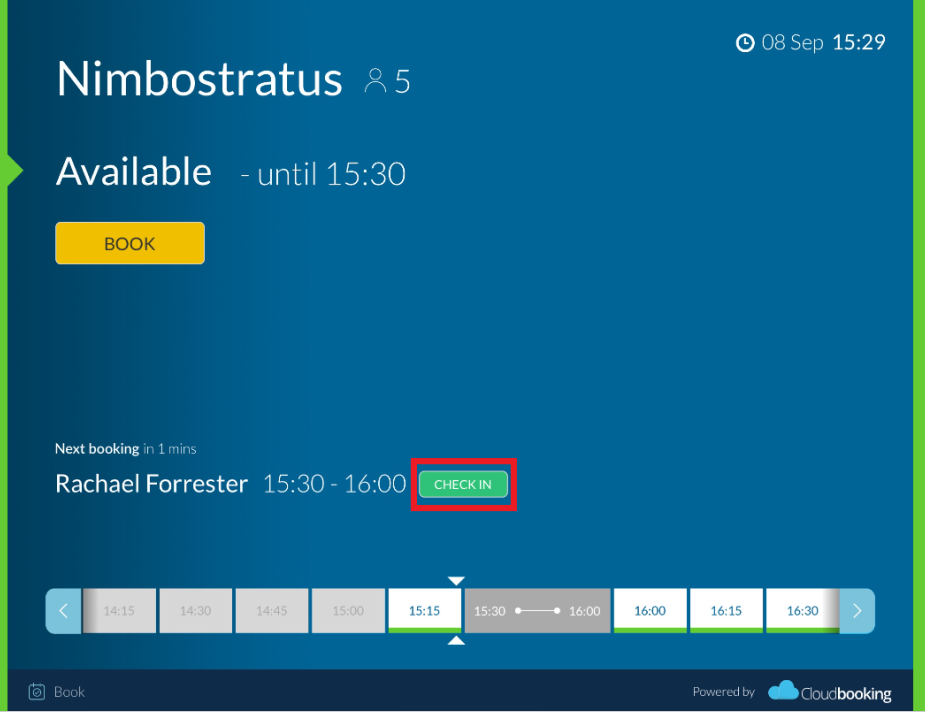
Approximately 30 mins before a meeting is about to start (this time is dependent on the settings of your organisations portal) and if no other meeting is taking place the CHECK IN option will appear next to your upcoming booking. If the room is not occupied and you wish then you can select CHECK IN and the screen will change to show a meeting is now in progress.
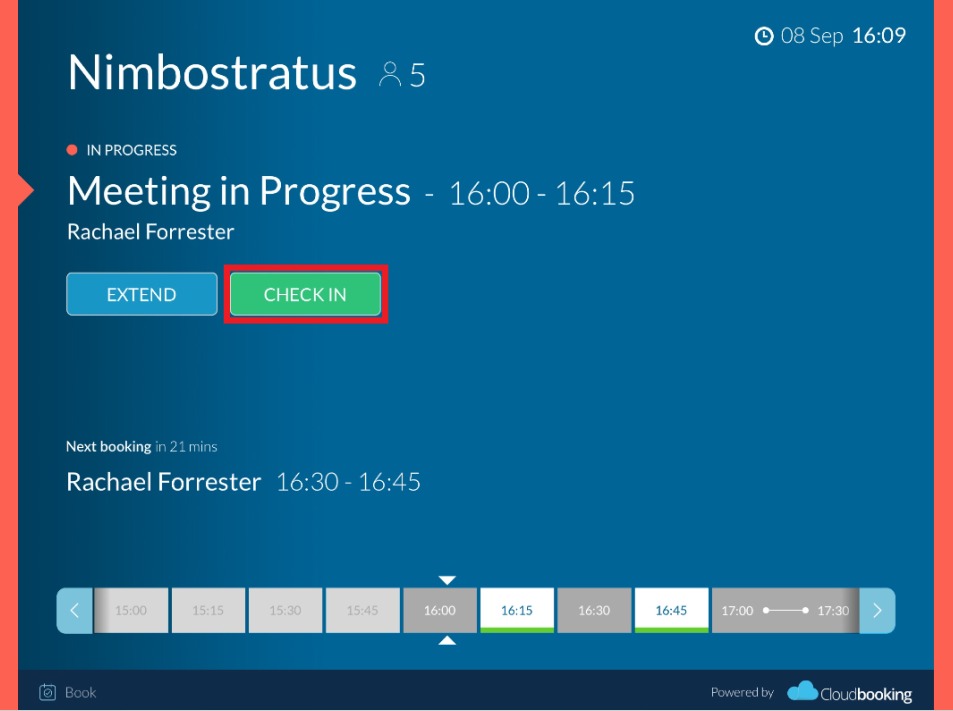
If the booking has already started this CHECK IN option will be displayed under the room status. Select CHECK IN to check into the room.
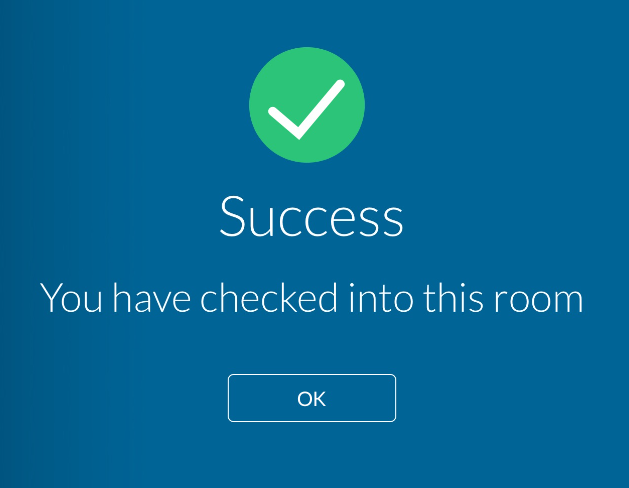
You will receive a success message confirming you have checked in.
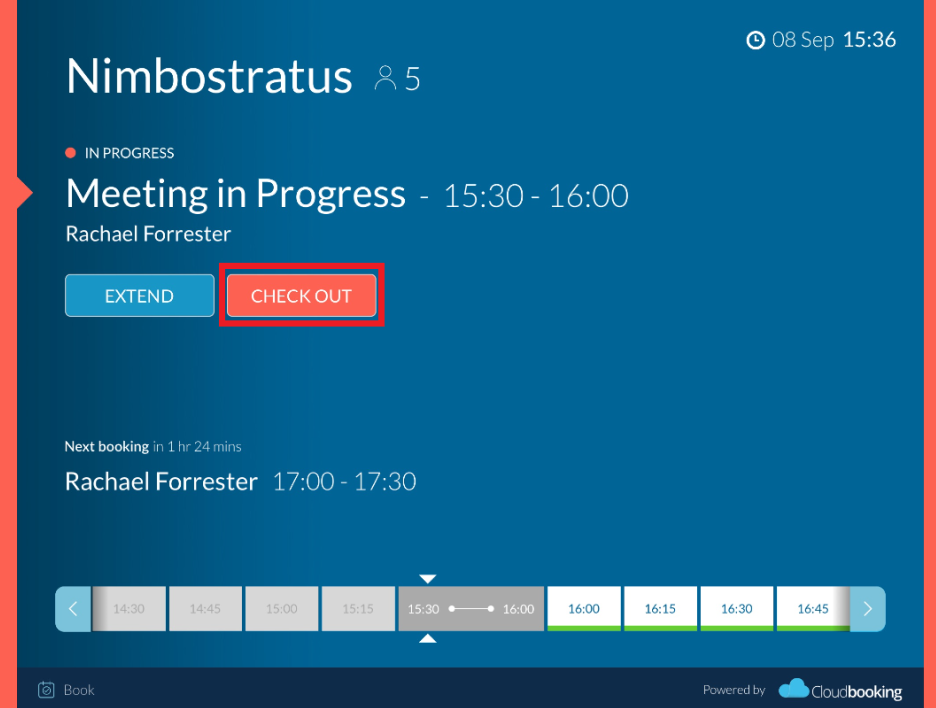
Once checked in the option then becomes CHECK OUT. Once your booking is complete you can check out of the room and release it for others to book by selecting CHECK OUT.
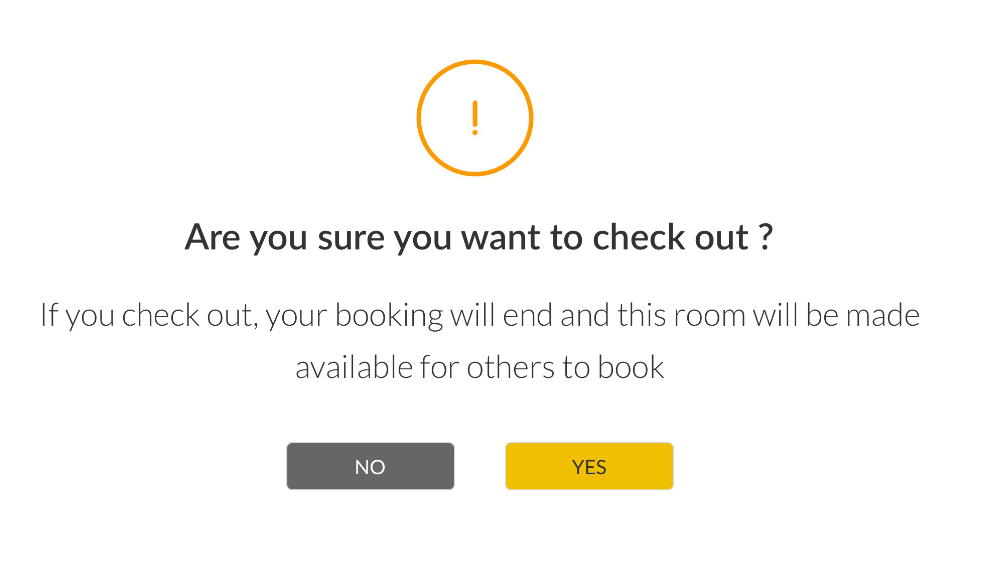
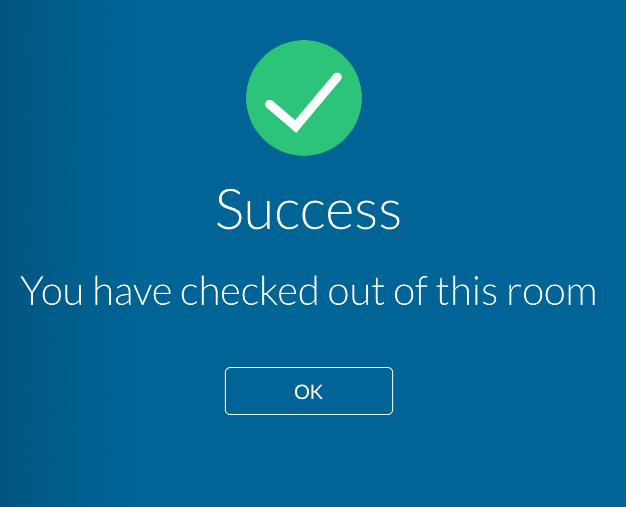
You will receive a message asking you to confirm you wish to check out, if you do select YES and you will see a success message confirming you have been checked out.
How to extend a meeting via the room screen
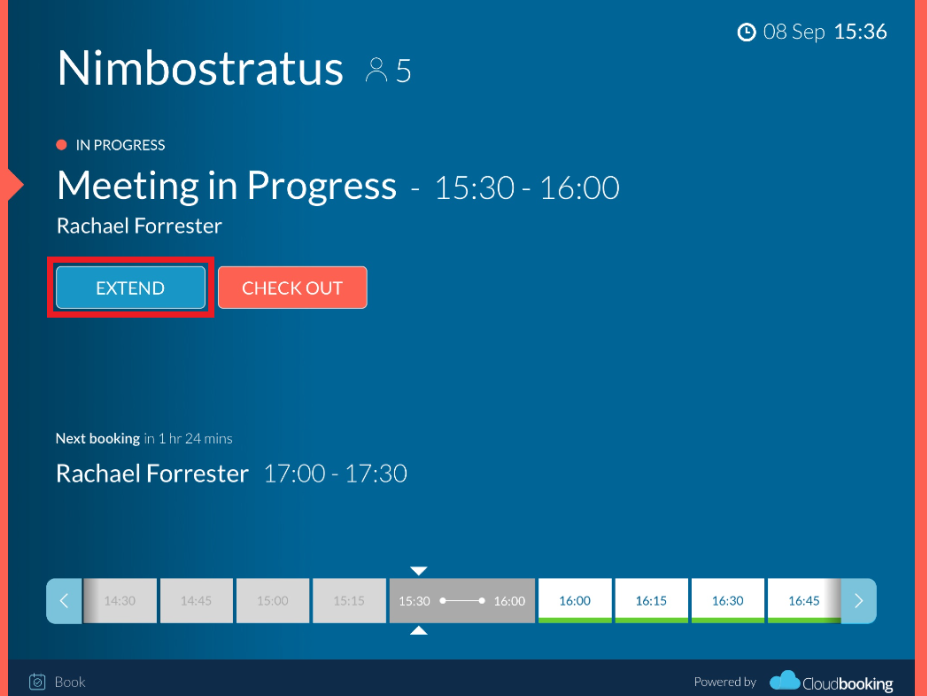
It is possible to extend a booking via the screen provided that it is available for the time immediately following your booking. PLEASE NOTE: If there is a booking immediately after yours then the EXTEND option is not available.
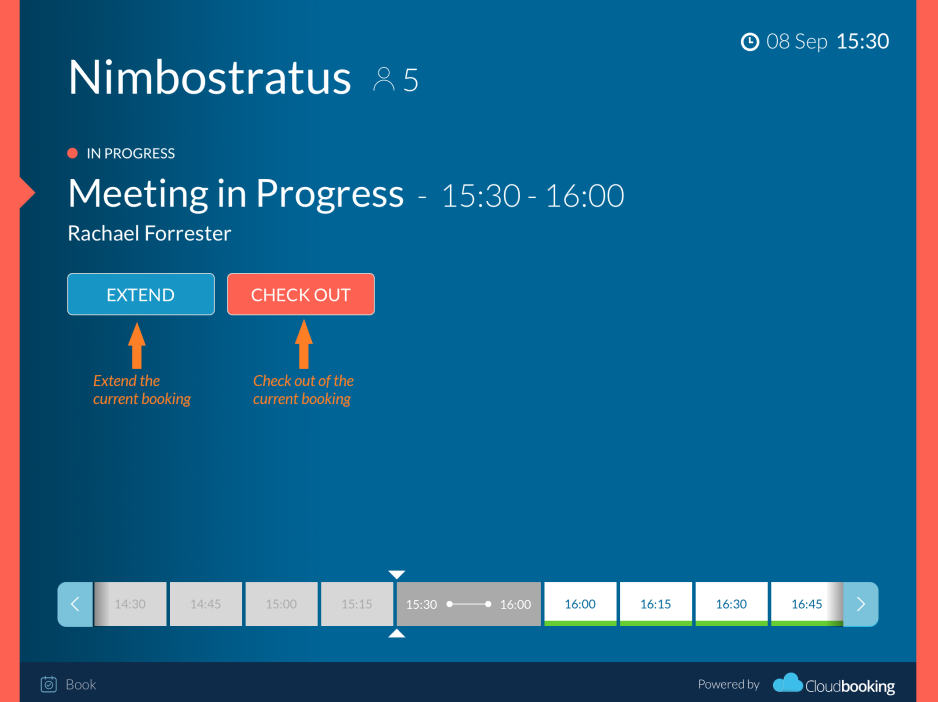
Once a meeting is in progress an EXTEND button is available.
Selecting this will show the EXTEND BOOKING screen.
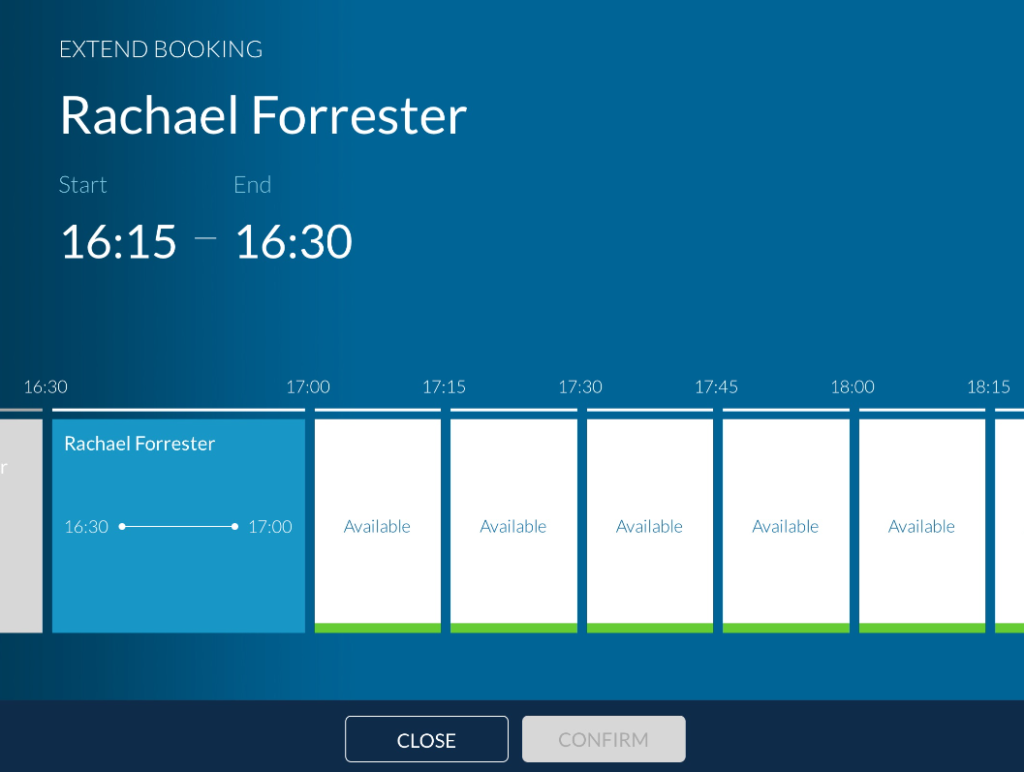
Select the time slot you would like to extend your booking to and select CONFIRM.
PLEASE NOTE: You cannot extend your booking if there is a booking immediately following yours and you can only extend up to the time of next booking.
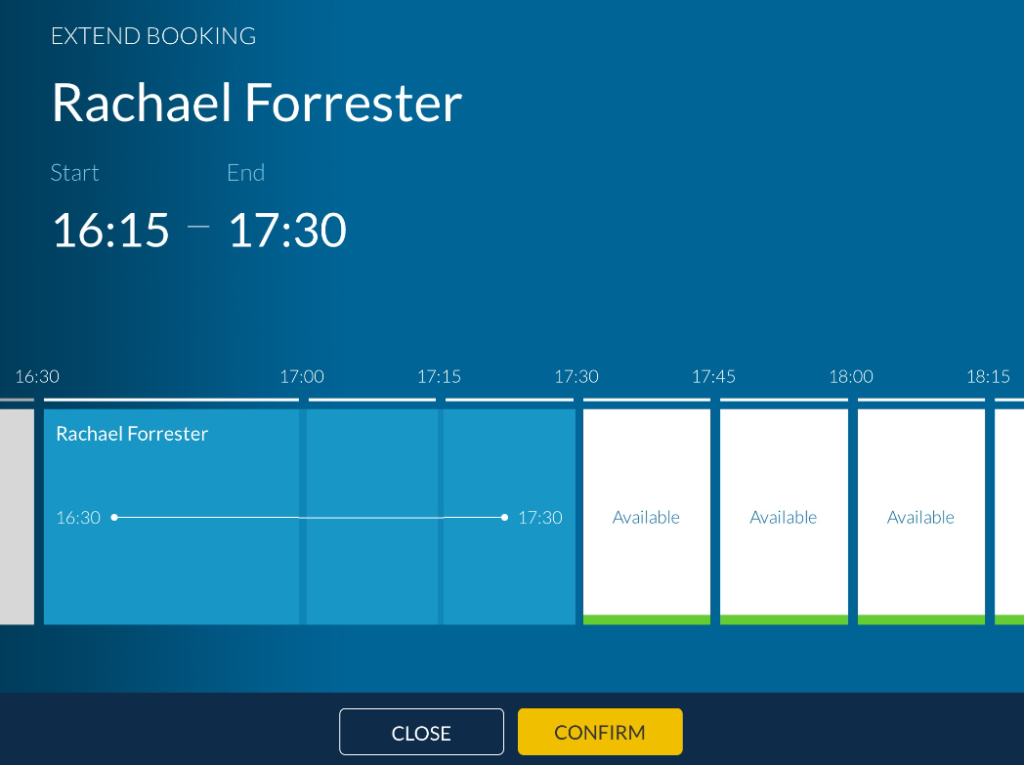
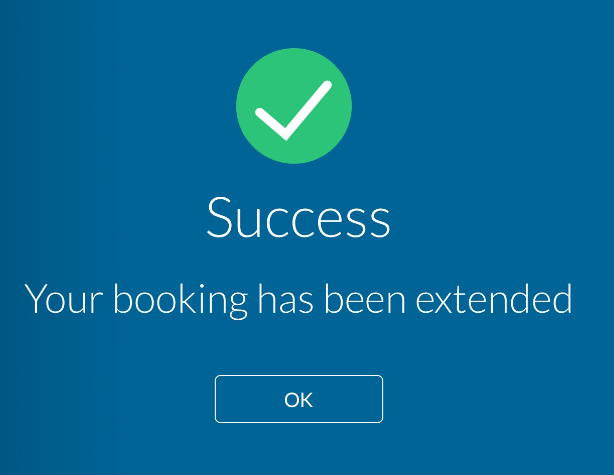
You will then see a success message confirming the booking has been extended and this will be reflected in the finish time of the booking on the room screen.