It is possible to book rooms that are available on Cloudbooking via the Outlook calendar removing the need to log into the portal separately.
PLEASE NOTE: The Cloudbooking M365 add-in currently only supports single bookings. The ability to make repeat bookings is due Q4 2022.
Quick Content links
Logging into the Cloudbooking M365 add-in
Making a booking in the Cloudbooking M365 add-in
Editing a booking
Cancelling a booking
Logging into the Cloudbooking M365 add-in
PLEASE NOTE: In order to use the Cloudbooking M365 add-in to be made you MUST have a Cloudbooking account using the email address linked to your calendar.
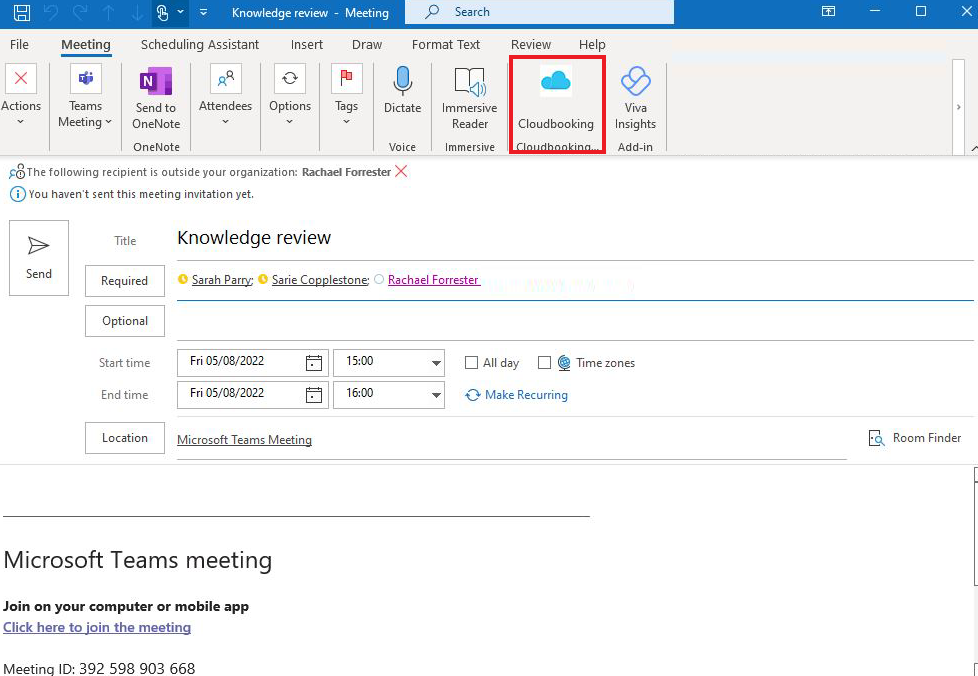
Go to your Outlook calendar, create a meeting invite then select the Cloudbooking M365 add-in on the top ribbon of the invite as shown below:
Once selected the add-in will open on the right hand side as a panel:
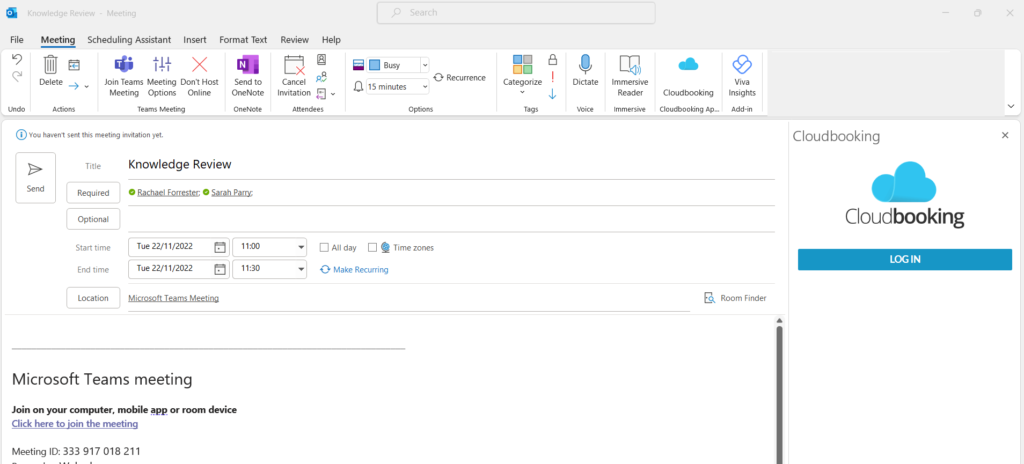
Select LOGIN
If you are SSO (Single sign on) you will be directed to your SSO provider such as Microsoft. Log in with the credentials you use to log into your work computer. If you are non-SSO then you will need to input your username and password.
Making a booking in the Cloudbooking M365 add-in
Open a meeting invite and add your meeting title, time and date and attendees. PLEASE NOTE: You must create a meeting invite NOT an appointment.
Select the Cloudbooking M365. If you have logged into the add-in before it should log you straight in to the Make a Booking screen. If you have not please see above to show you how to log in.
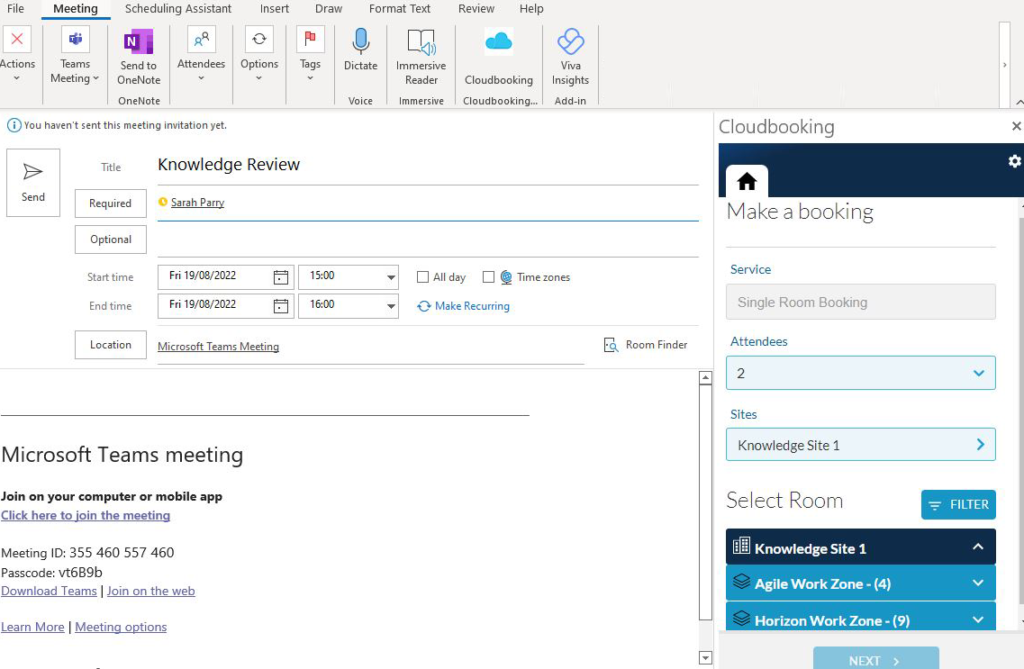
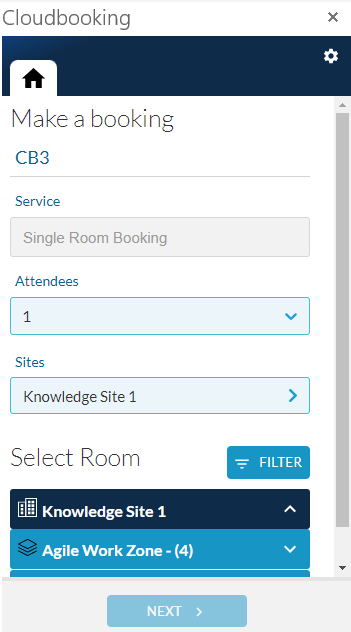
The add-in will be populated with the title and attendee count from your Outlook meeting invite. The screen will default to your default site on the portal however if you have access to multiple sites you will be able to change the site by selecting the Sites dropdown. If you do not have access to multiple sites this will remain fixed.
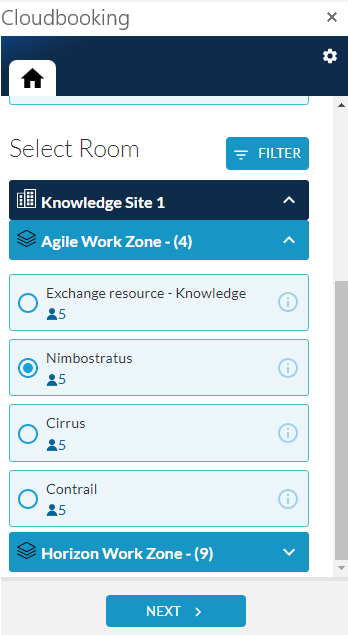
You can then select the room you wish to book. Select the area drop downs to show which rooms are available at that time and site and will also accommodate the number of attendees. If you wish you can add filters such as Area and Equipment to narrow down the list further.

You can see the information about each room by selecting the i icon next to the room name.

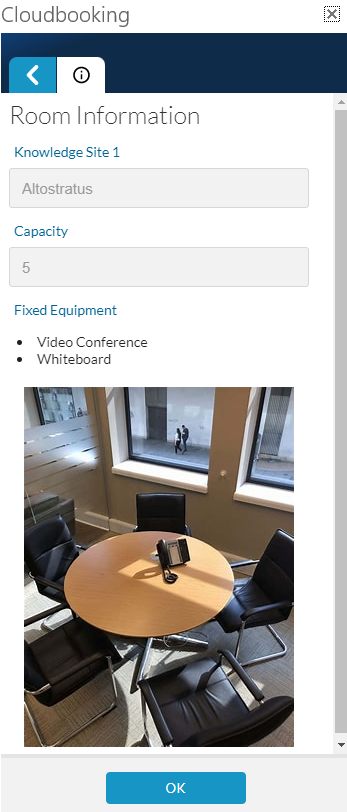
Selecting OK will then take you back to the Select Room screen.
Once you are happy with all the details, select the room you would like and select NEXT.
You will then be brought to the Details screen where you can check your booking details, title and date/time will match what you have put in your Outlook meeting invite. You can change the room again by selecting Change under Select Room. Add any notes and on behalf of if required then select BOOK.

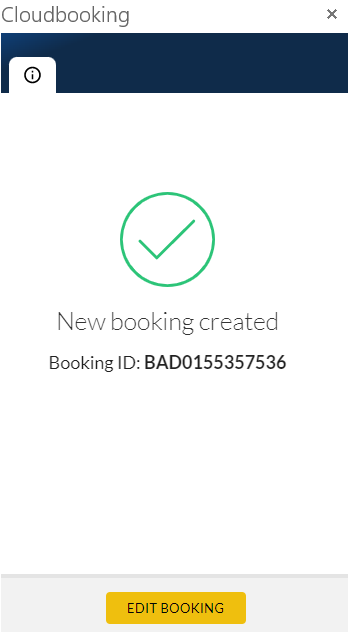
You will then receive a message confirming your booking has been made.
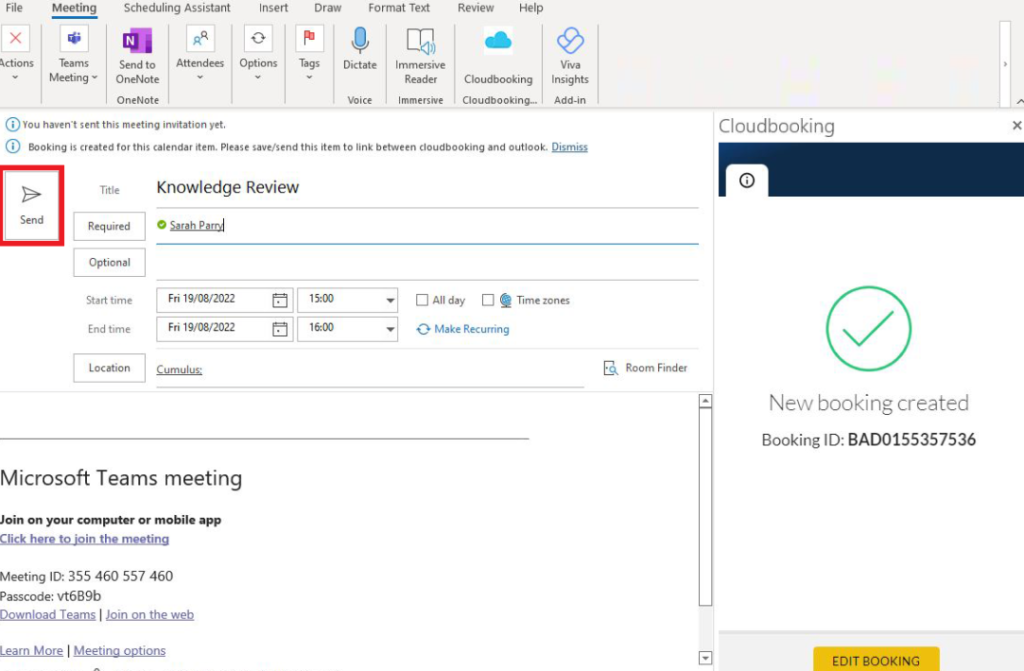
Once the booking has been made in the add-in you MUST send the invite within Outlook to complete the booking. Select Send within your Outlook invite.
PLEASE NOTE: If you don’t send the invite from Outlook the booking will not sync correctly and will not appear in portal or the room calendar.
Editing a booking
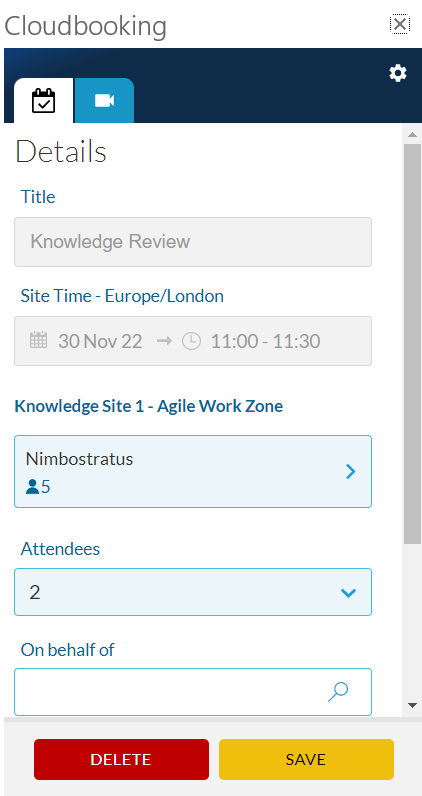
If you need to amend the date, time or title do this directly in the meeting invite. The only details that can be edited in the Cloudbooking M365 add-in are the attendees, On behalf of and notes.
PLEASE NOTE: It is not possible to change the room on the booking. If a different room is required then the booking needs to be cancelled and done again with the new room.
Open the meeting invite in Outlook and open the add-in. Any changes made directly in the calendar invite will sync across to the add-in. If there are any changes to make in the add-in make those as well. Once all details have been updated select SAVE.
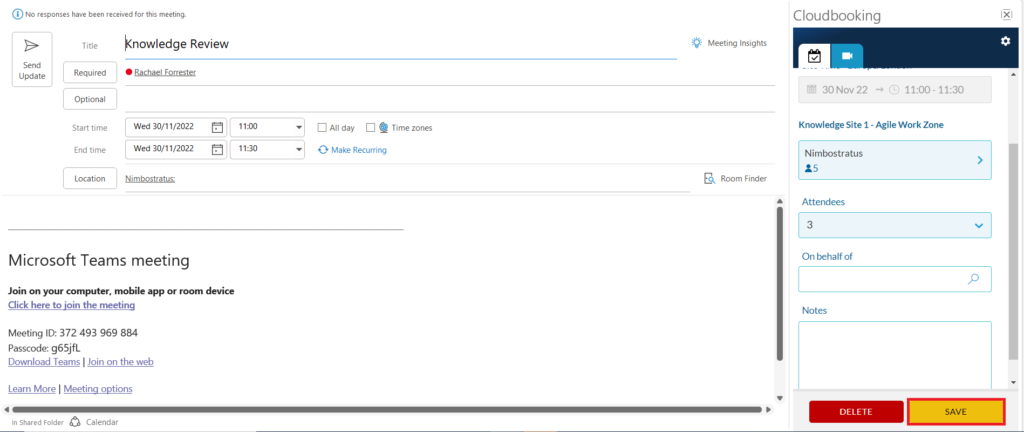
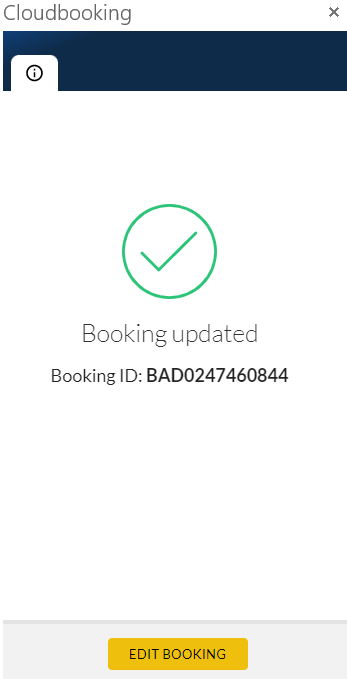
The add-in will confirm the update has been made.
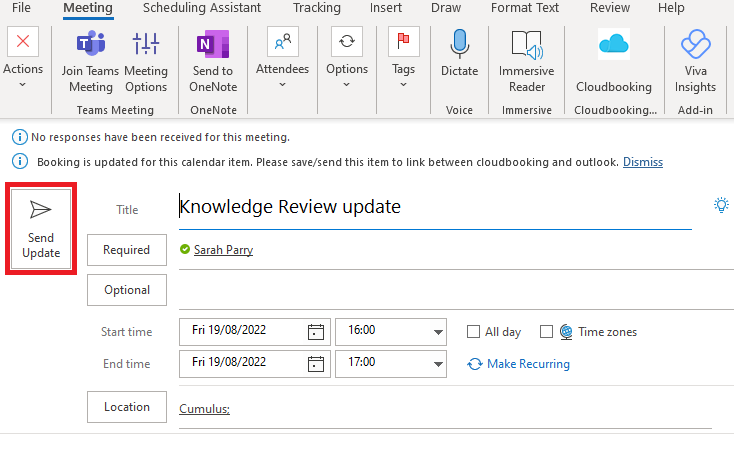
To complete the booking select Send Update on the Outlook invite.
Cancelling a booking
There are two scenarios for deleting a room booking, either deleting the room booking but keeping your Outlook meeting or deleting both.
Cancelling the CB room booking but keeping the Outlook meeting.
Open up the meeting invite in Outlook and then open the add-in. Once open select DELETE.
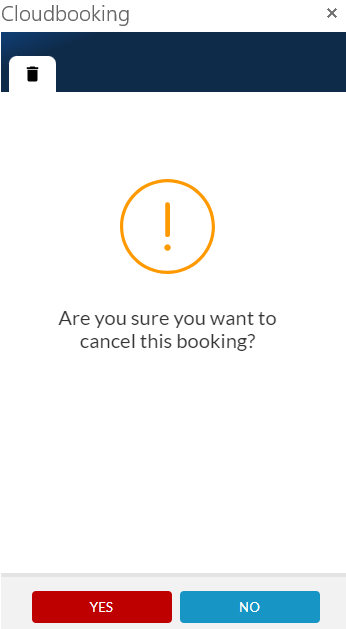
The add-in will ask if you are sure you want to cancel the booking, select YES.
Once the booking is cancelled the Make a booking screen will appear again, you can then close the add-in.
You will notice the room has now been removed from the location of the meeting invite. Finally select Send Update in the Outlook invite to update the meeting details.
Cancelling both the Outlook and CB meeting
Open up the meeting invite and then the M365 add-in. Follow the instructions above for deleting the meeting within the Cloudbooking M365 add-in.
PLEASE NOTE: You must delete the room booking in the add-in before cancelling the Outlook invite otherwise the booking will remain in the portal.
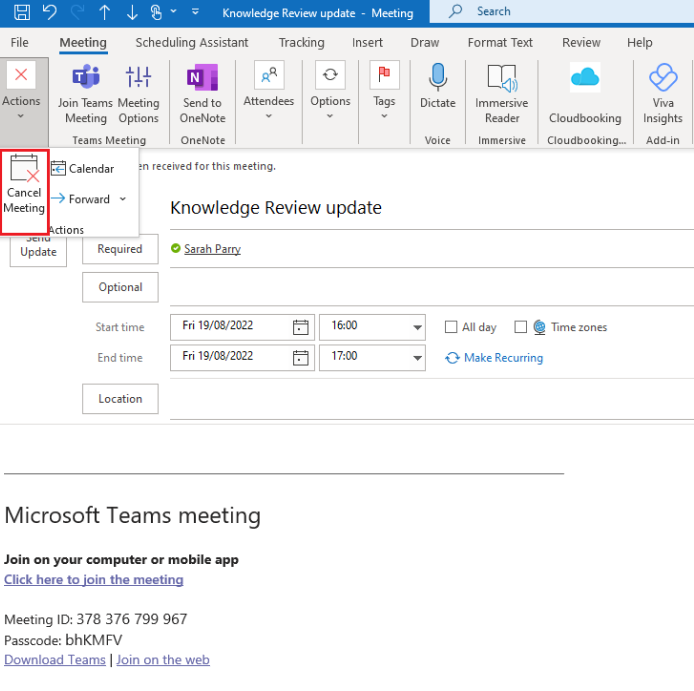
Once the meeting has been deleted in the add-in select the Actions then Cancel Meeting.
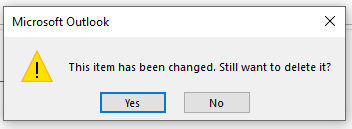
You’ll receive the below message, select Yes
The select Send Cancellation
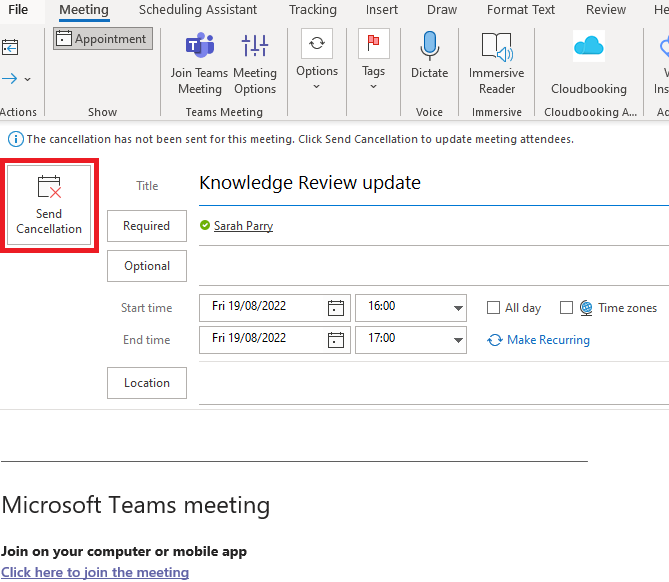
The meeting will then be removed from your Outlook calendar and any attendees will be notified.