It is possible to book rooms from two different views, these are a grid view or a floor plan view. If you have both available you can switch between the two by selecting the Views in the top right of the screen.

Content quick links
How to book via the booking grid
How to book via the floor plan
How to book via the booking grid
Firstly, log in to the Cloudbooking portal.
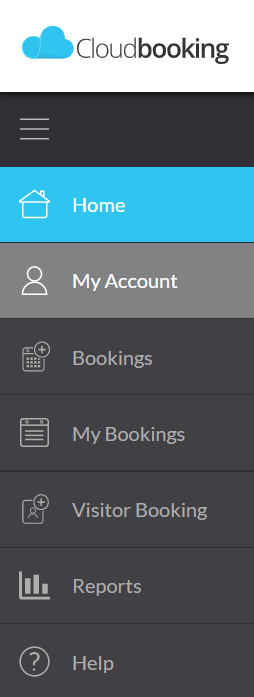
Select Bookings on the left hand side of the screen.
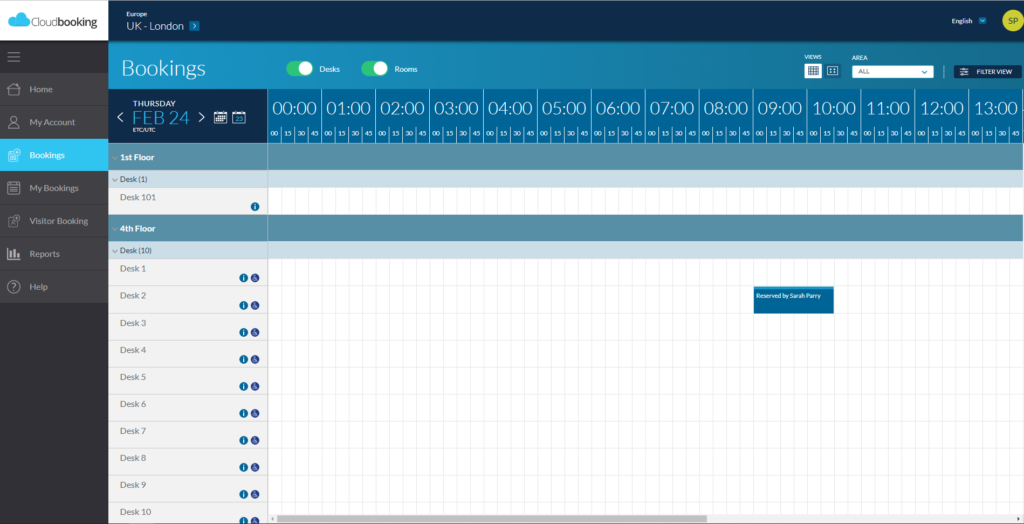
The booking screen will appear in grid view. If you wish to switch to the floor plan view please see the top of this guide for further information.
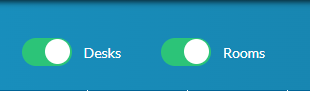
Ensure that the green toggles at the top of the screen are set to show desks.
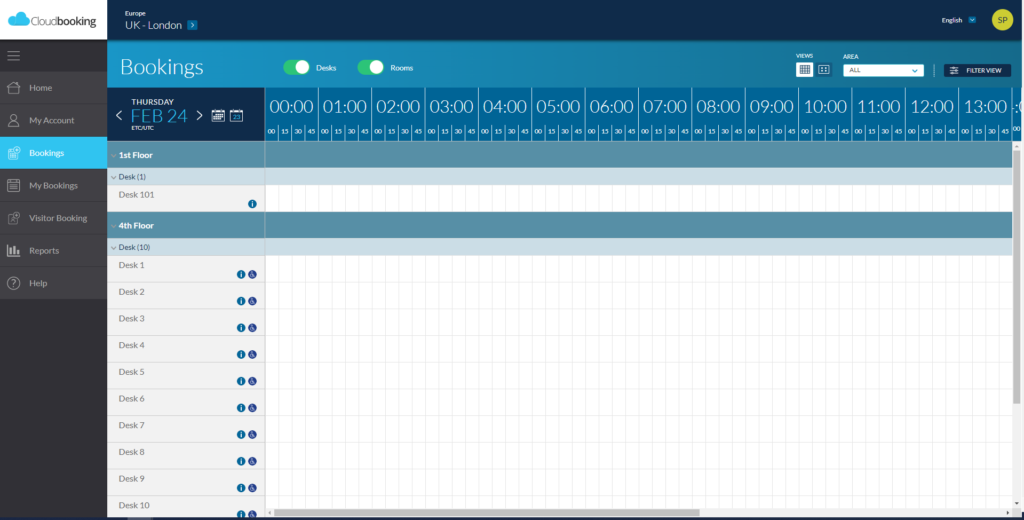
Find the desk you would like to book and either click on a single time slot, these are usually 15 minute slots, or click and drag across a number of slots depending on the length of your meeting.
The booking will show as reserved by you on the booking grid until it is confirmed, appearing as “reserved by (user name)” and it will not be possible for any other user to book that slot. You will then have 15 minutes in which to complete your booking before the slot is released and available to be booked by another user.
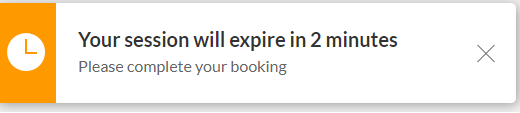
You will receive a reminder message to complete your booking.
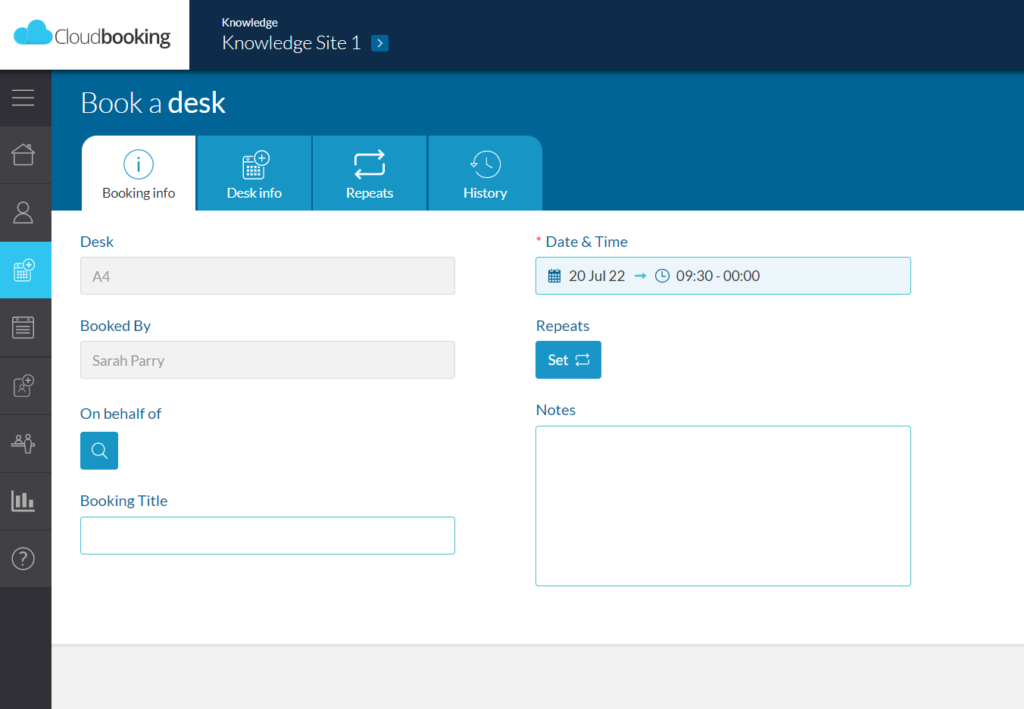
When you have selected your time slot, the following screen will open for you to make your booking.
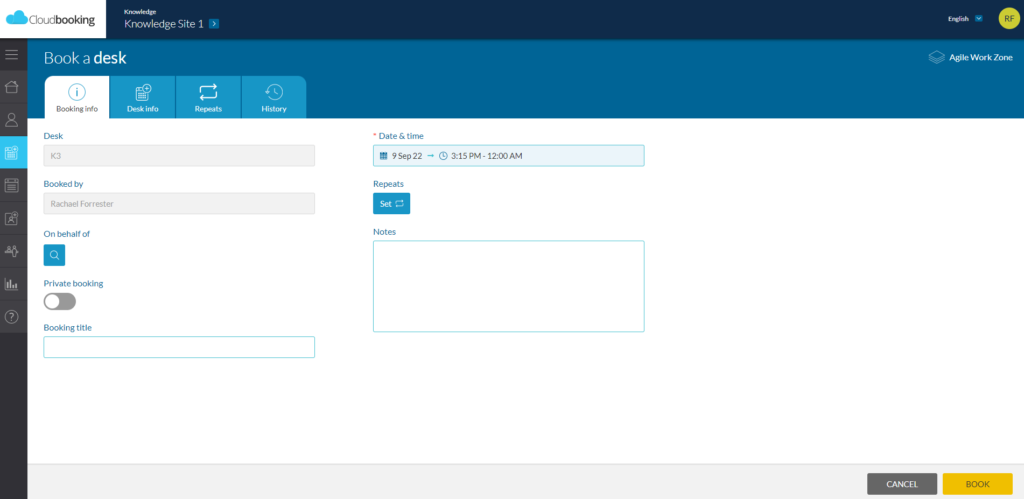
The following fields can be completed:
Desk/Room
This is the name of the desk or room.
Booked By
The name of the user making the booking.
On behalf of
This allows you to book the desk on behalf of a colleague or visitor
Private booking
Enabling this will make your booking private on the grid and other users will not be able to see your details or the details of the meeting.
Booking Title
Text entered in here will display on the booking on the grid. If no information is entered in here the booking will display the user name as a default.
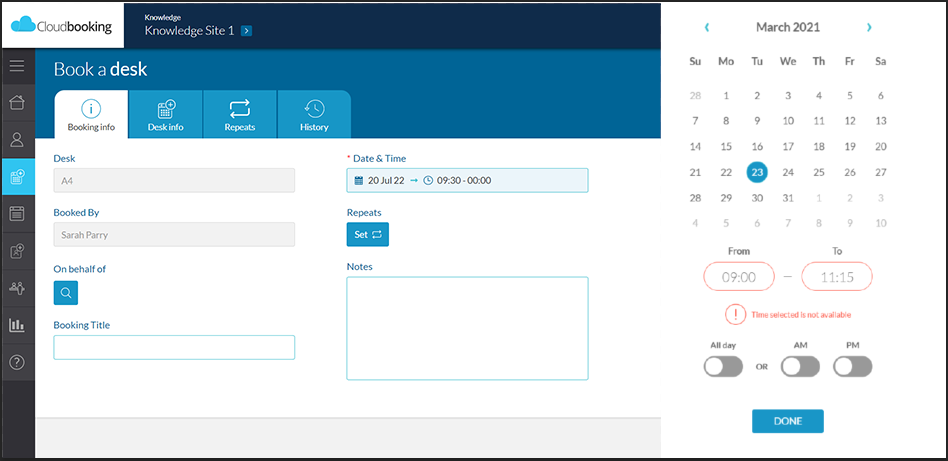
Date and time
This will display the time that has been selected on the grid. Clicking on the field opens up a side panel where the date and time can be amended.
If you click on date and time , You can easily make a booking for a full day, morning, or afternoon using the toggles.
AM is “Start time” – 12 Midday.
PM is 12 Midday – Close of business.
If you select AM, PM or All-day, the toggle will turn GREEN and update the time.
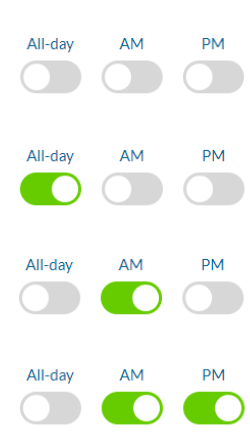
Clicking DONE checks the time slot is available. If the time is not available, a warning message will be shown. If the time is available, the changes are saved and the side panel closes.
Repeats
The repeat booking function provides users with the ability to make repeat bookings for desks and rooms.
For information on making repeat bookings, please see Repeat Bookings
Complete all relevant information and click BOOK
You will receive a booking success notification and an email to confirm your booking has been successfully created.
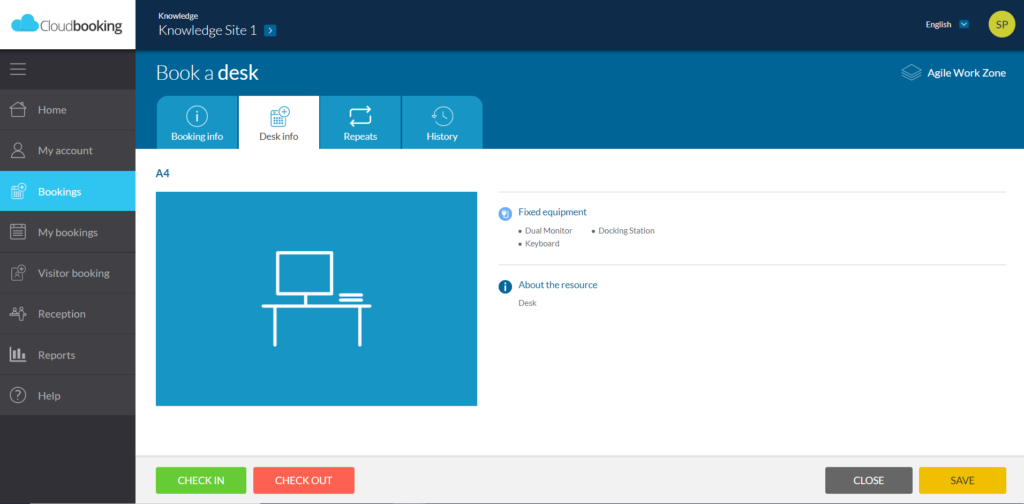
Desk information tab – Contains more detailed information about the desk. e.g. what resources are available? is the desk accessible for disabled people?
How to book via the floor plan
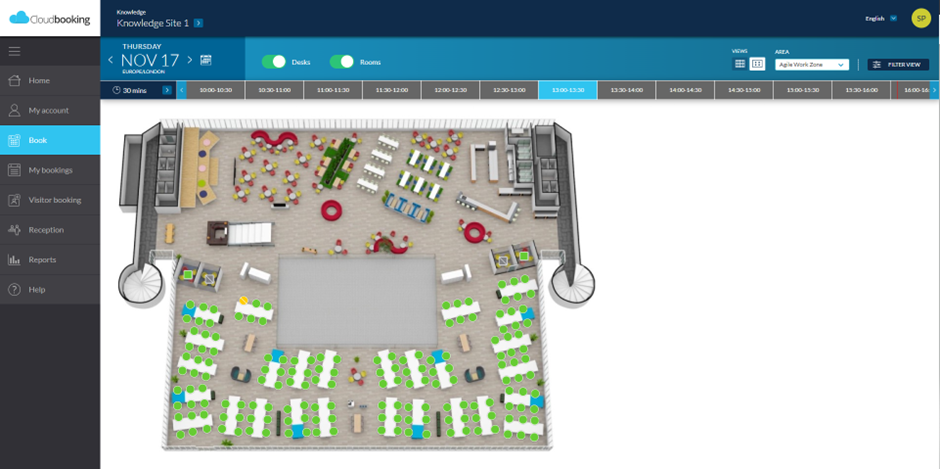
Select Book on the left-hand menu to open up the floor plan. If a floor plan is available on your site, then it will display similar to the below. If you wish to switch to the grid view, please see the top of this guide for further information.
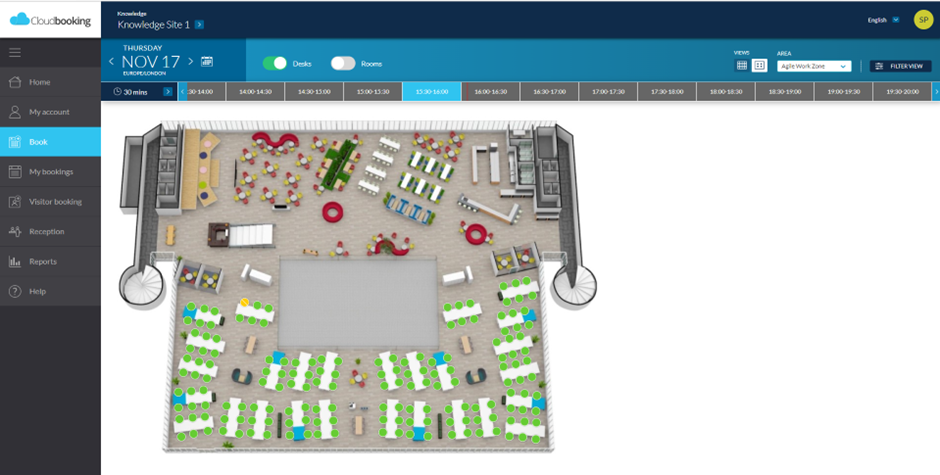
You will see a timeline view at the top of the floorplan.
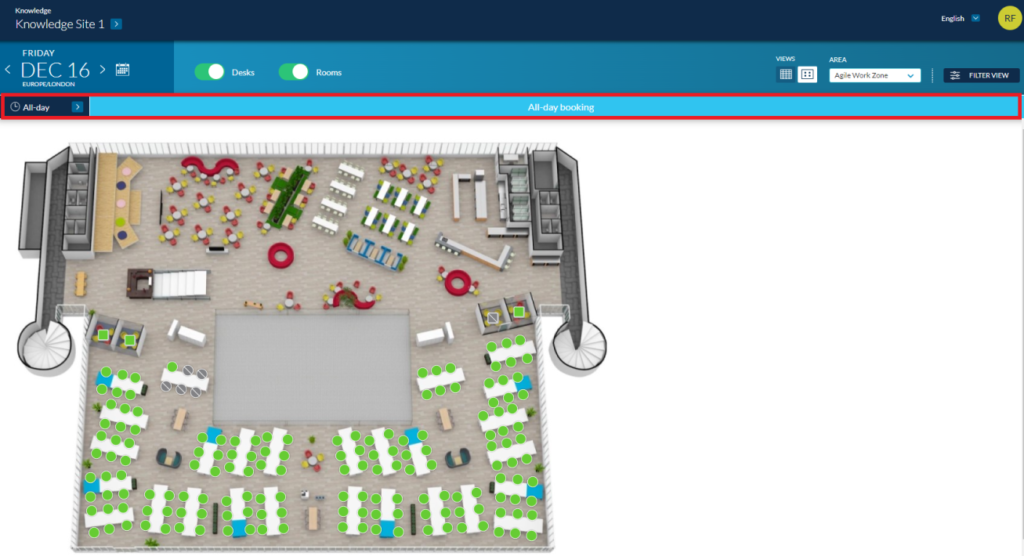
This is set as default to All-day but by clicking on the clock as shown below, a side panel will open enabling you to change the booking slot increments on the timeline.

There are options of All Day, AM/PM, 60 Mins, 30 Mins and Custom.
Selecting AM/PM, 60 Mins or 30 Mins will change the timeline allowing you to select either AM or PM, or slots of 30/60 minutes.
To set custom booking slots, select Custom then click on the start time and end time drop down and make your time selection as required.

Make your selection and click DONE. The timeline will then be displayed as shown below, and all available desks for that time period will appear as green for you to select and book.
All Day

AM/PM

60 Mins

Custom

To scroll along the timeline for later booking slots, click on the blue arrow at the right end of the timeline.
Click on your preferred booking timeslot, it will now be highlighted in blue and your desk booking will be made for your preferred time.
Selecting pin from the floor plan will open up a side panel giving you more details of that desk, as well as a timeline that will indicate the availability of the room throughout the day. Selecting a green pin means the desk is available for the time period you are looking at.
For further information about pin colours and what they mean, please see Pin colouring explained
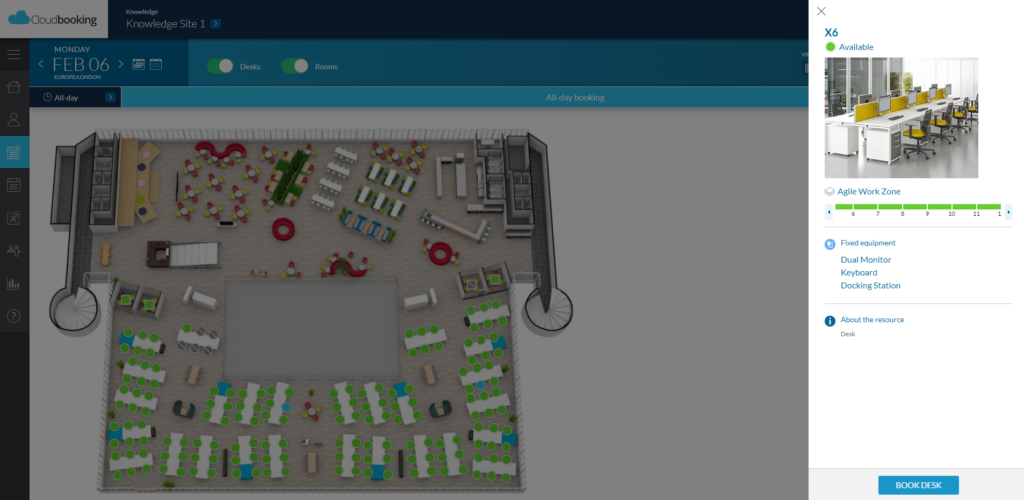
If you wish to book the desk select BOOK DESK on the side panel and the Book a desk view will open.
Follow the same procedure as you would if booking from the grid, filling in all relevant details on the booking form.
Selecting BOOK will create the booking and reserve the desk.
Selecting CANCEL will cancel the booking and release the desk.
When your booking is complete, you will receive an email confirmation containing details of your booking and an attached ICS file which, when opened, will update your Calendar with your booking.