Content quick links
Internal visitors
External Visitors
Selecting a site
Changing date and time
Multi Day Bookings
Selecting a host
Click on the Visitor Booking menu option on the left hand side of the screen to open the New visitor booking screen.

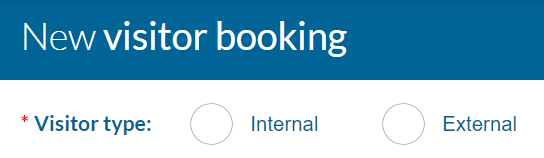
Select if your visitor is internal or external using the radio buttons at the top of the screen.
Internal Visitors
If you are selecting an internal visitor, the following screen will appear. Internal should be chosen for users who have an existing Cloudbooking account and are therefore assumed to be part of the company.
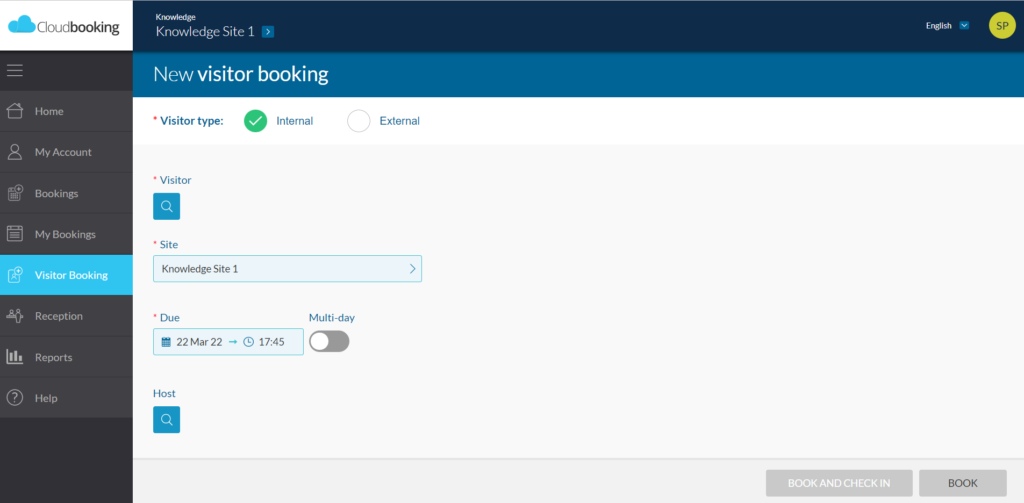
Click on the search icon (magnifying glass) to search for an internal Visitor and Host. The Search Visitors menu will slide in on the right of the screen. Internal visitors will already exist within the system and will therefore not need to be added. If you cannot find a specific internal visitor, please raise a query with your internal Cloudbooking account administrator.

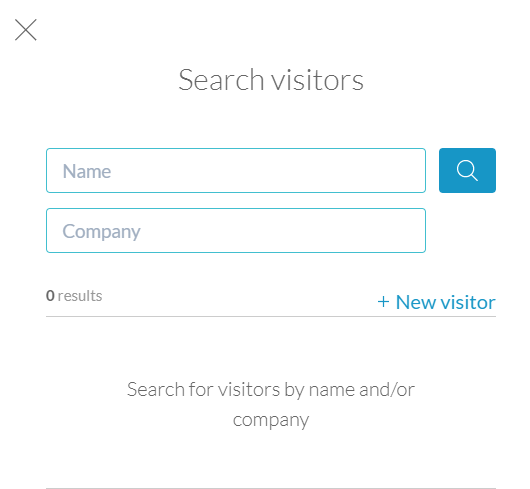
Either search by name, company or click the magnifying glass to bring up a list of internal visitors.
Select your visitor from the list and you will return to the new visitor booking screen.
Your visitor will be displayed on this screen as follows.
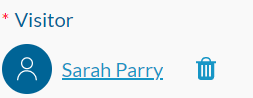
If you want to remove the visitor, click on the bin icon to the right of the visitor’s name.
External Visitors
If you are selecting an external visitor, the following screen will appear. External visitor type should be selected for visitors and anyone without a Cloudbooking account.

Click on the Visitor magnifying glass to search for your visitor.

The Search Visitors menu will appear on the right hand side of the screen. The menu for external visitors is slightly different. You can either search by name or company, or add a new visitor if a visitor profile does not already exist. A visitor profile only needs to be added once to Cloudbooking and is saved for future booked visits.
If you click on + New Visitor, a menu will appear when you can add the details of your new visitor.
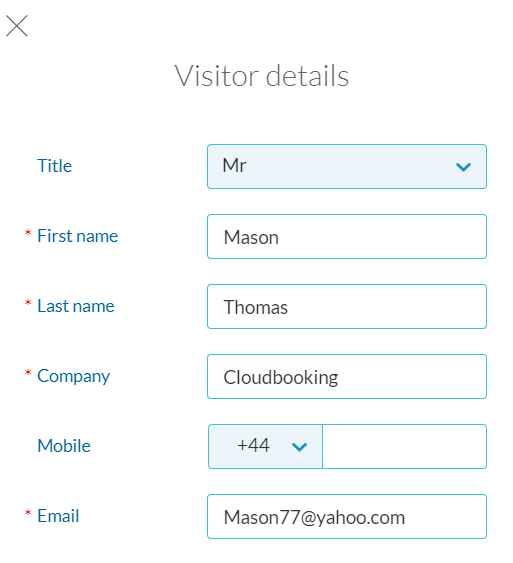
Please complete all mandatory fields marked with a red asterisk (*) and click Save. A success toast message will appear to inform you that your new visitor record has been created and you will be returned to the new visitor booking screen. Your visitor will be displayed as follows:

To make amendments, click on the visitor and the menu will appear on the right hand side. Simply make your changes and click Save. You will receive a success toast message confirming your visitor record has been updated. To remove your visitor entirely, click on the bin icon.
Selecting a site
Next, choose which site your visitor will be attending. Click on the > arrow at the right of the field to open a side panel where you can select a site.

Changing date and time
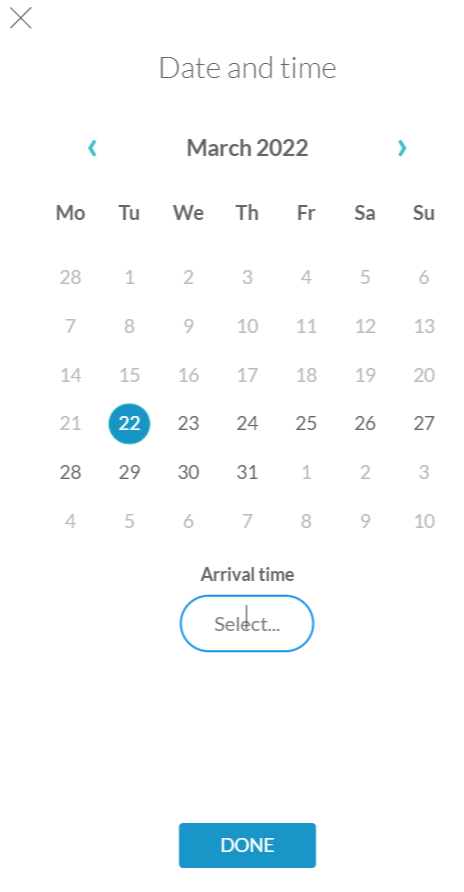
Click on the Due field which opens a calendar view side panel, select the required date and time and click Done.
Multi Day Bookings
By using the multi day toggle, you are able to book a visitor for more than one concurrent day at a time.
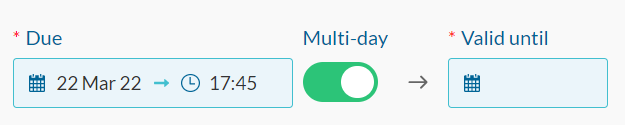
Click the Valid until field and a calendar view side panel will open. Select the date you want the multi day visitor booking to end and click Done.

At this point, you will return to the new visitor booking screen and be given an option to edit the Due time for each day of the multi-day visitor booking.
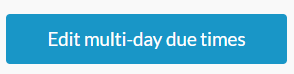
Click on the button and a side panel will open which enables you to change the due times for your visitor for each day of the booking. For example, they could be arriving at 9am on one day and 12.15pm on another, therefore the time can be set differently for every day.

Make your amendments as required and click Save.
Selecting a host
A host is defined as an employee of the company and will therefore always be required to have a Cloudbooking account. For external visitors, the Host is pre-populated with the details of the logged in user, however this can be amended if you are booking a visitor on behalf of another person.
To add or amend a Host, click on the Host magnifying glass, and the side panel will open on the right as follows:

Click the magnifying glass and a dropdown menu will appear for you to select
Select a name from the drop down menu, you will be directed back to the new visitor booking screen and the host name will appear automatically as follows:
To view host details, click on the host and a side panel will appear displaying the host’s name and email address.
To remove the host, click the dustbin.
To complete your visitor booking, check all details are entered correctly and click Book.
