The reception screen is an easy way for your reception teams to manage your visitor experience on site.
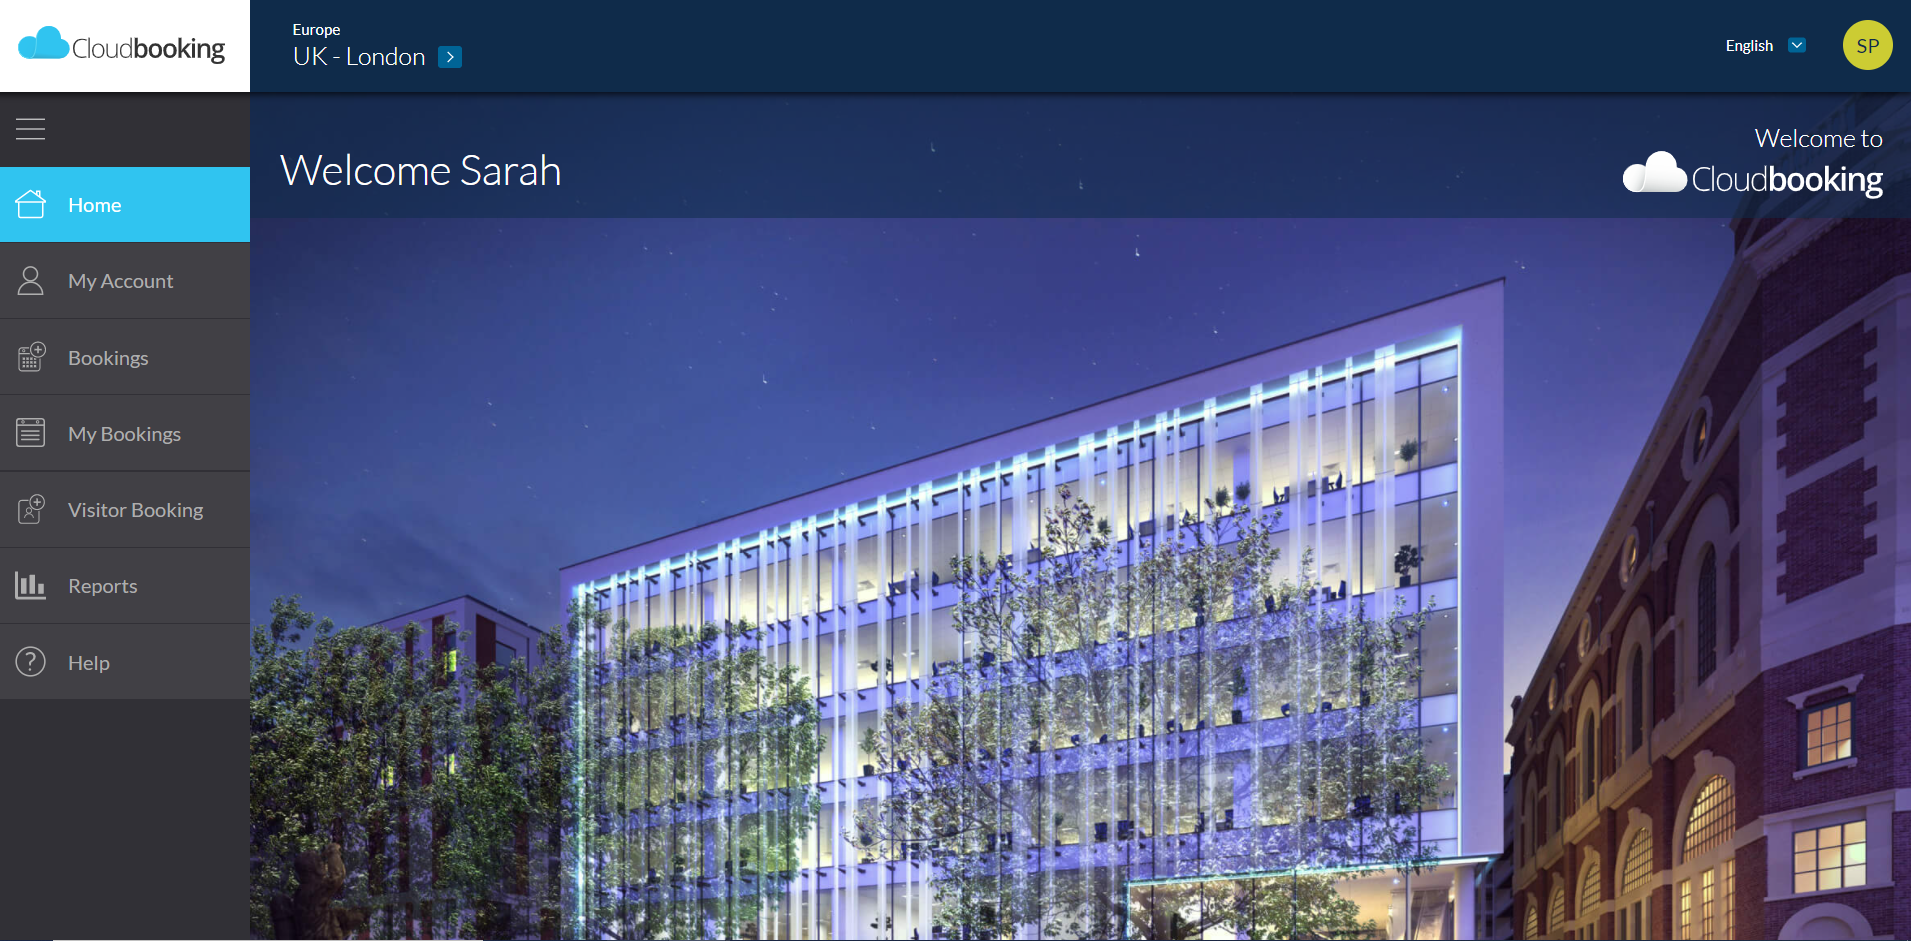
As a reception role, firstly, please log in to your Cloudbooking account. Once you have accessed the system, you will be presented with the home screen.
Clicking on the Reception menu option on the left-hand side of the screen opens the reception screen.
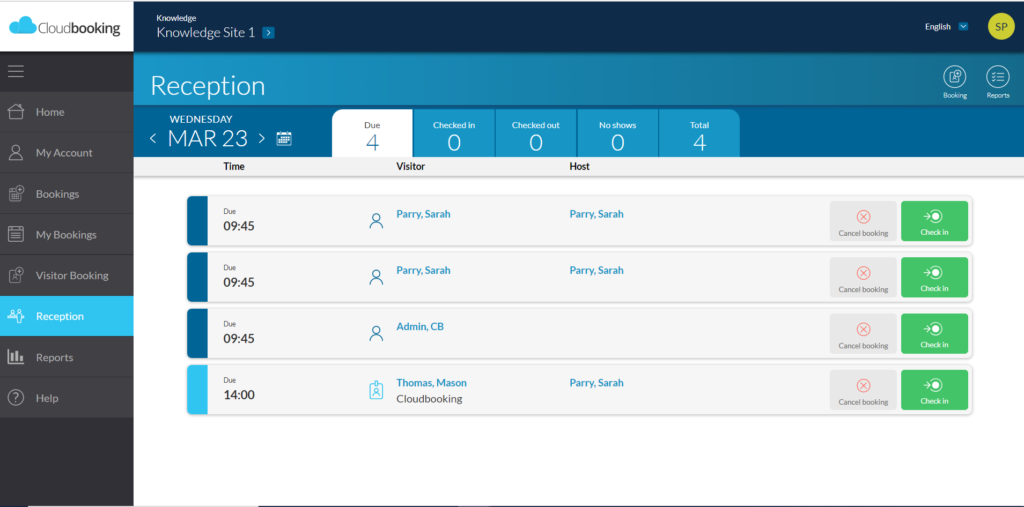
The screen automatically defaults to the Due tab which displays all upcoming bookings for the current day.
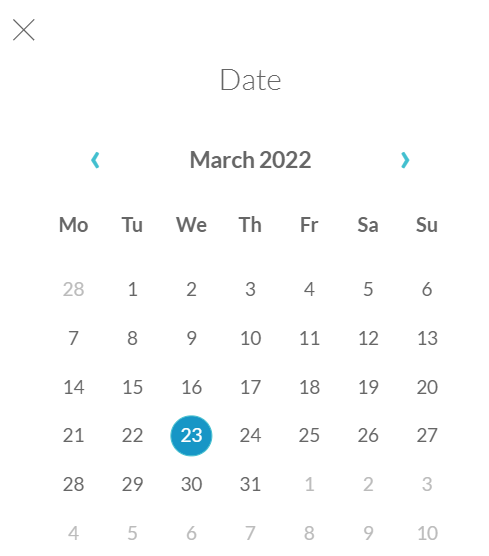
You can change the date view by clicking on the calendar icon to the left of the date or either of the arrows < > to move forwards or backwards.

If you click on the calendar icon, a calendar view side panel will open, to give you the option of altering the date. Select your date, click done, and the side panel will close.
At this point, you can choose to either cancel the visitor booking or check in the visitor when they present themselves to reception, by using the buttons on the right of the screen.
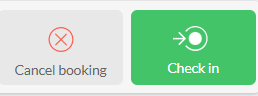
To cancel the booking, click on the Cancel Booking icon on the right hand side of the screen. You will receive a message as follows:
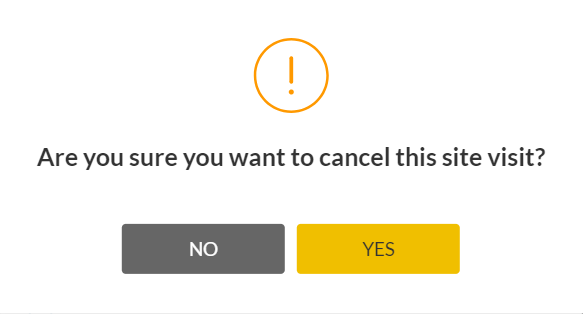
At this point, you can choose to cancel or not. If you choose not to cancel, you will return to the Reception screen, if you choose to cancel, the host and visitor will receive a message that the visitor booking has been successfully cancelled.
To check your visitor in, simply select the Check in button. The host will receive a message that their visitor has been successfully checked in.
The tabs at the top of the reception screen give an easy overview of all the visitor bookings for the current day. In reception, you see the number of bookings within each part of the visitor process – Due, Checked in, Checked out. Finally, there is also a tab detailing the total number of visitors for that day.

It is possible to make a new visitor booking from the reception screen if required. Select the Booking icon on the top right hand side of the screen

and the visitor booking screen will open.

For guidance on booking a visitor, please refer to How to make a new visitor booking.
Clicking on the evacuation report tab at the top right of the screen

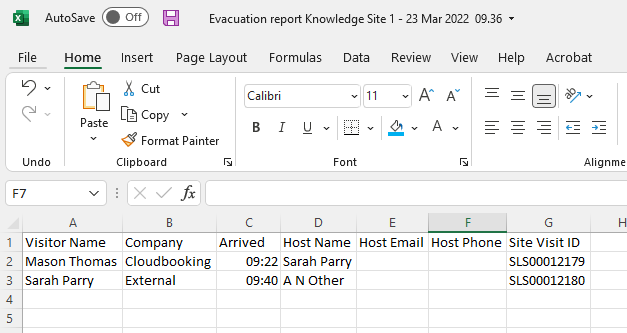
automatically downloads a csv file of all today’s visitors that are in a Checked in status, indicating that they are in the building. This can be used as an evacuation report during fire drills or other emergencies.